DIY Homemade Cloth Face Mask with Fitted Nose Bridge by NICU Nurse Trish Ringley
Since it’s becoming clear that cloth face masks are a good way to prevent the spread of viruses, I decided to dust off the sewing machine to make a few.
Because I’m a nurse and I’m used to wearing masks with a flexible fitted nose bridge, I really wanted to find something like that for my homemade masks.
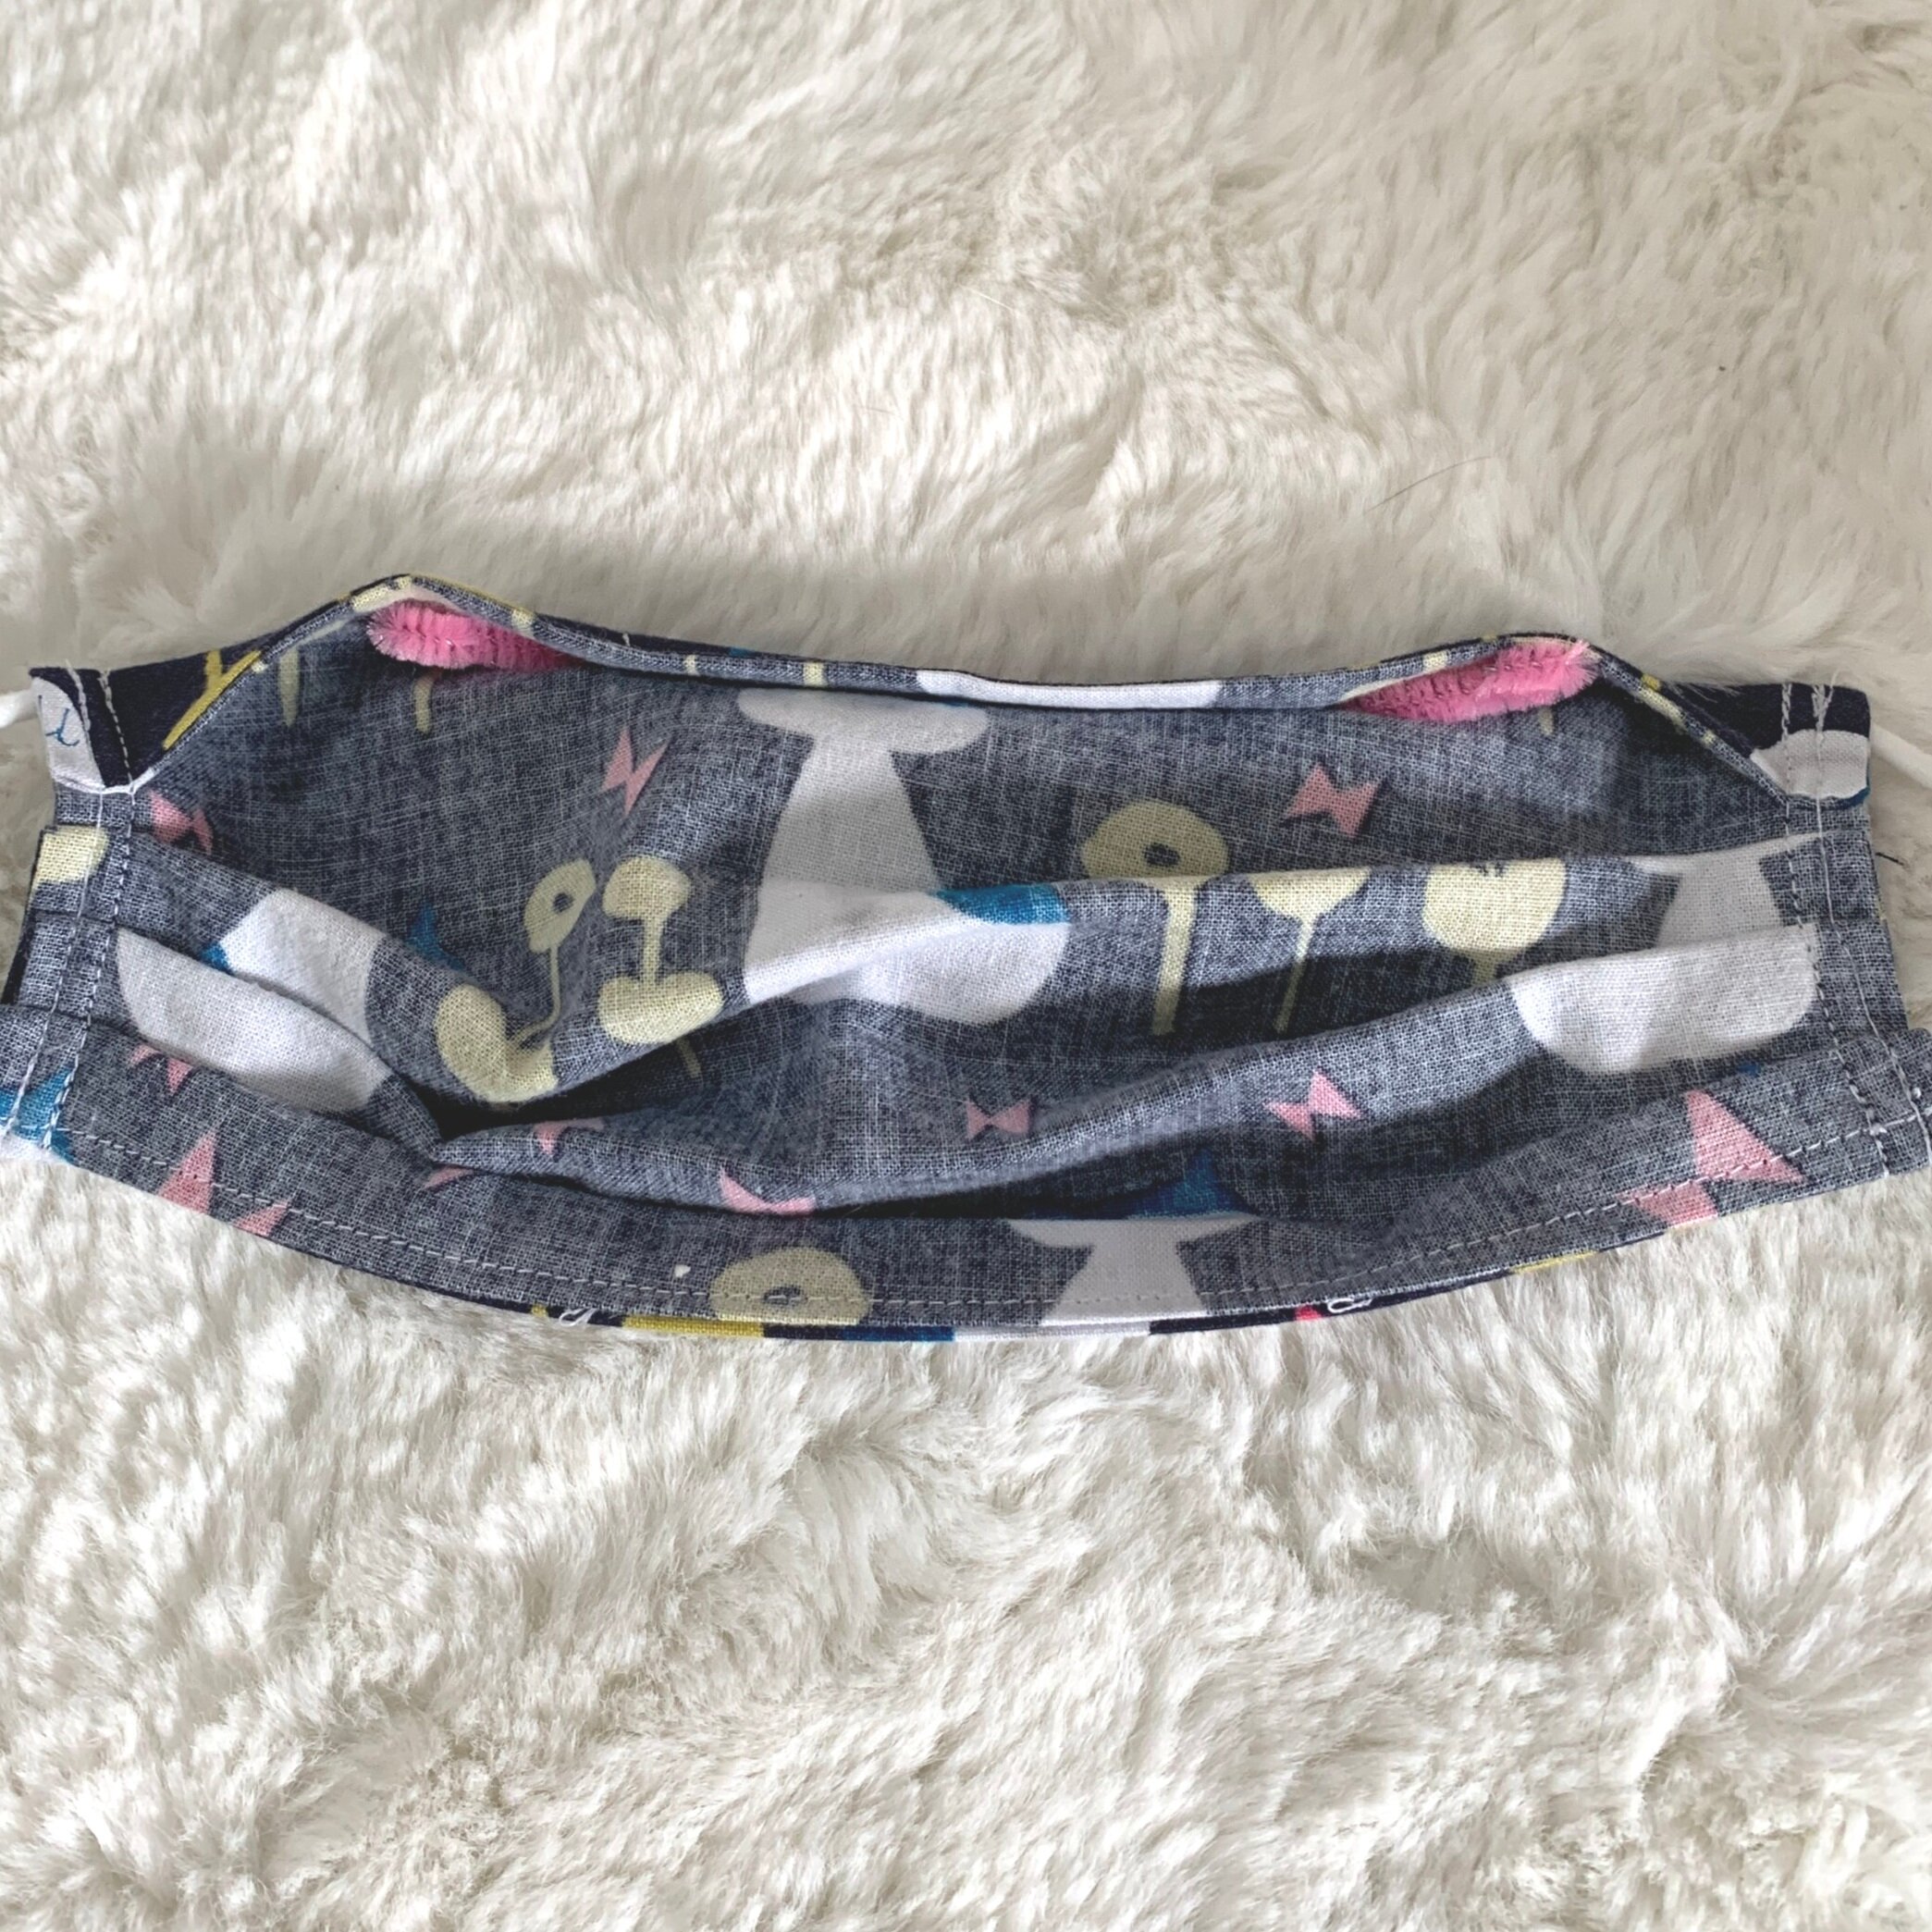
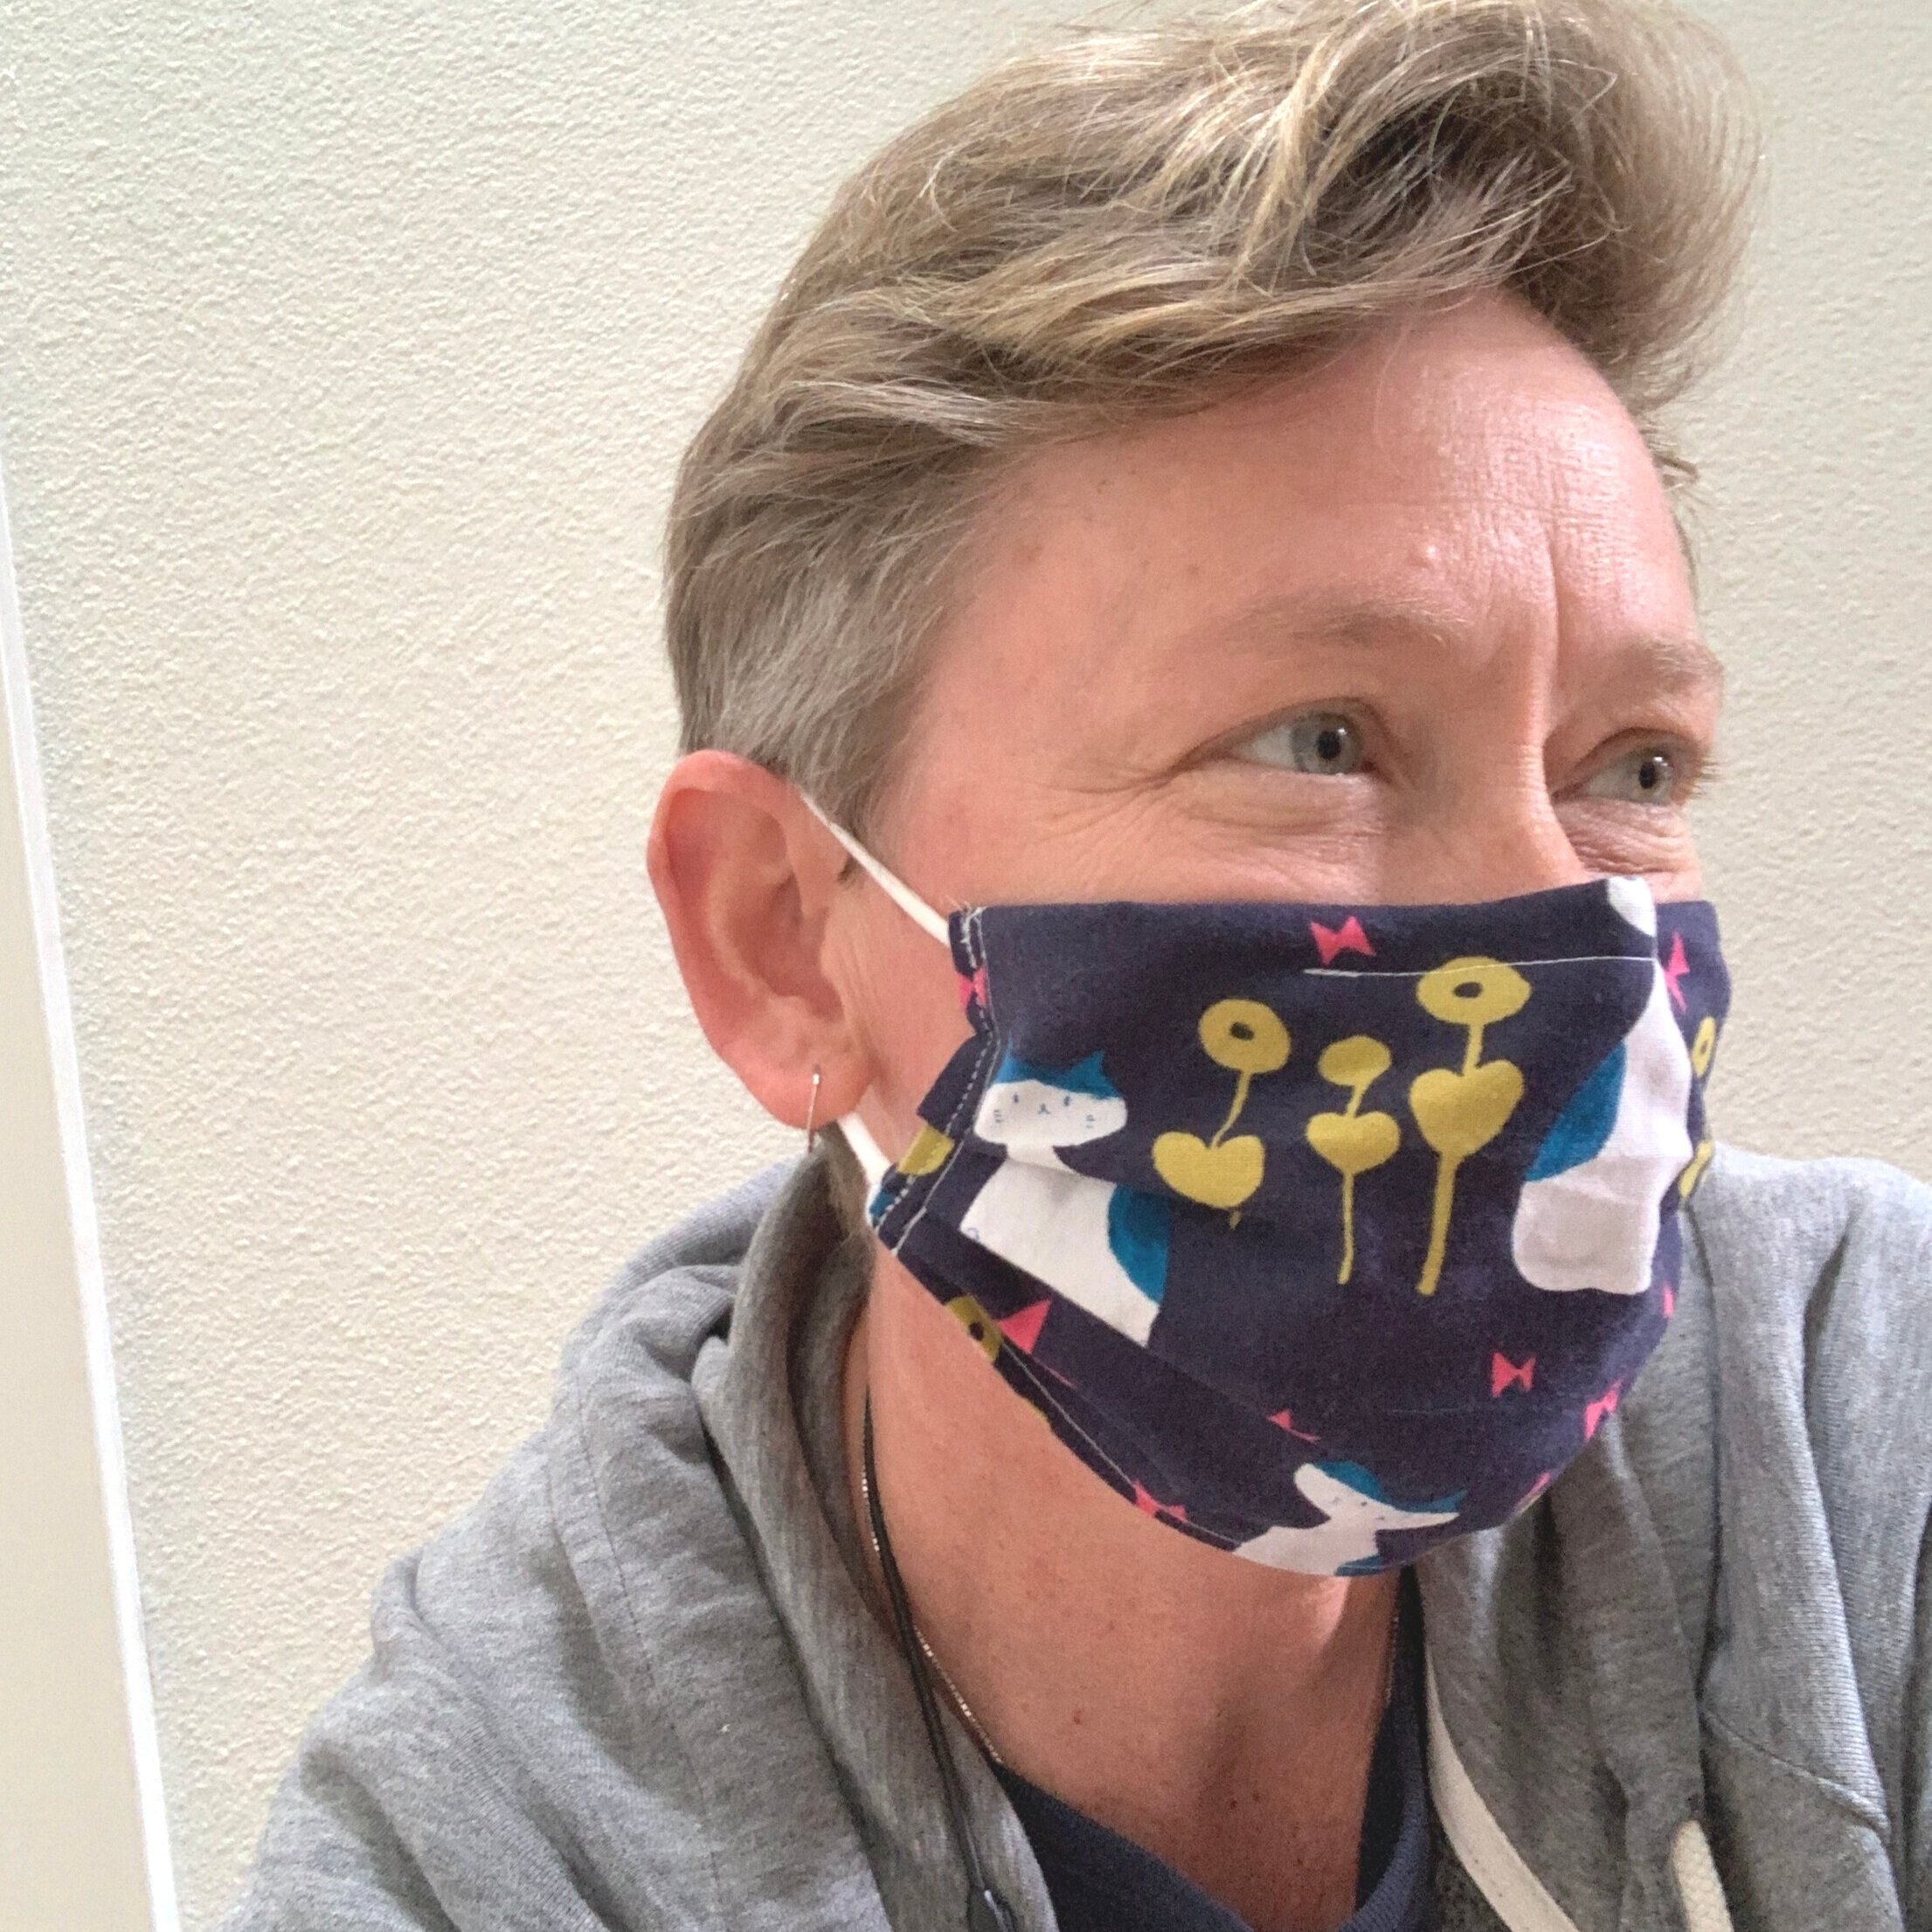
I have modified a basic pleated face mask by adding my own touch - a little “tunnel” along the nose bridge where a soft, flexible pipe cleaner can be inserted when wearing the mask.
Pipe cleaners make a surprisingly light & comfortable nose bridge that holds its shape well, and it stays comfortable to wear throughout a full 12 hour shift (I tested it personally). But pipe cleaners don’t hold up well to washing (they get crinkled and they’ll rust), so this pattern allows for the pipe cleaner to be removed before washing.
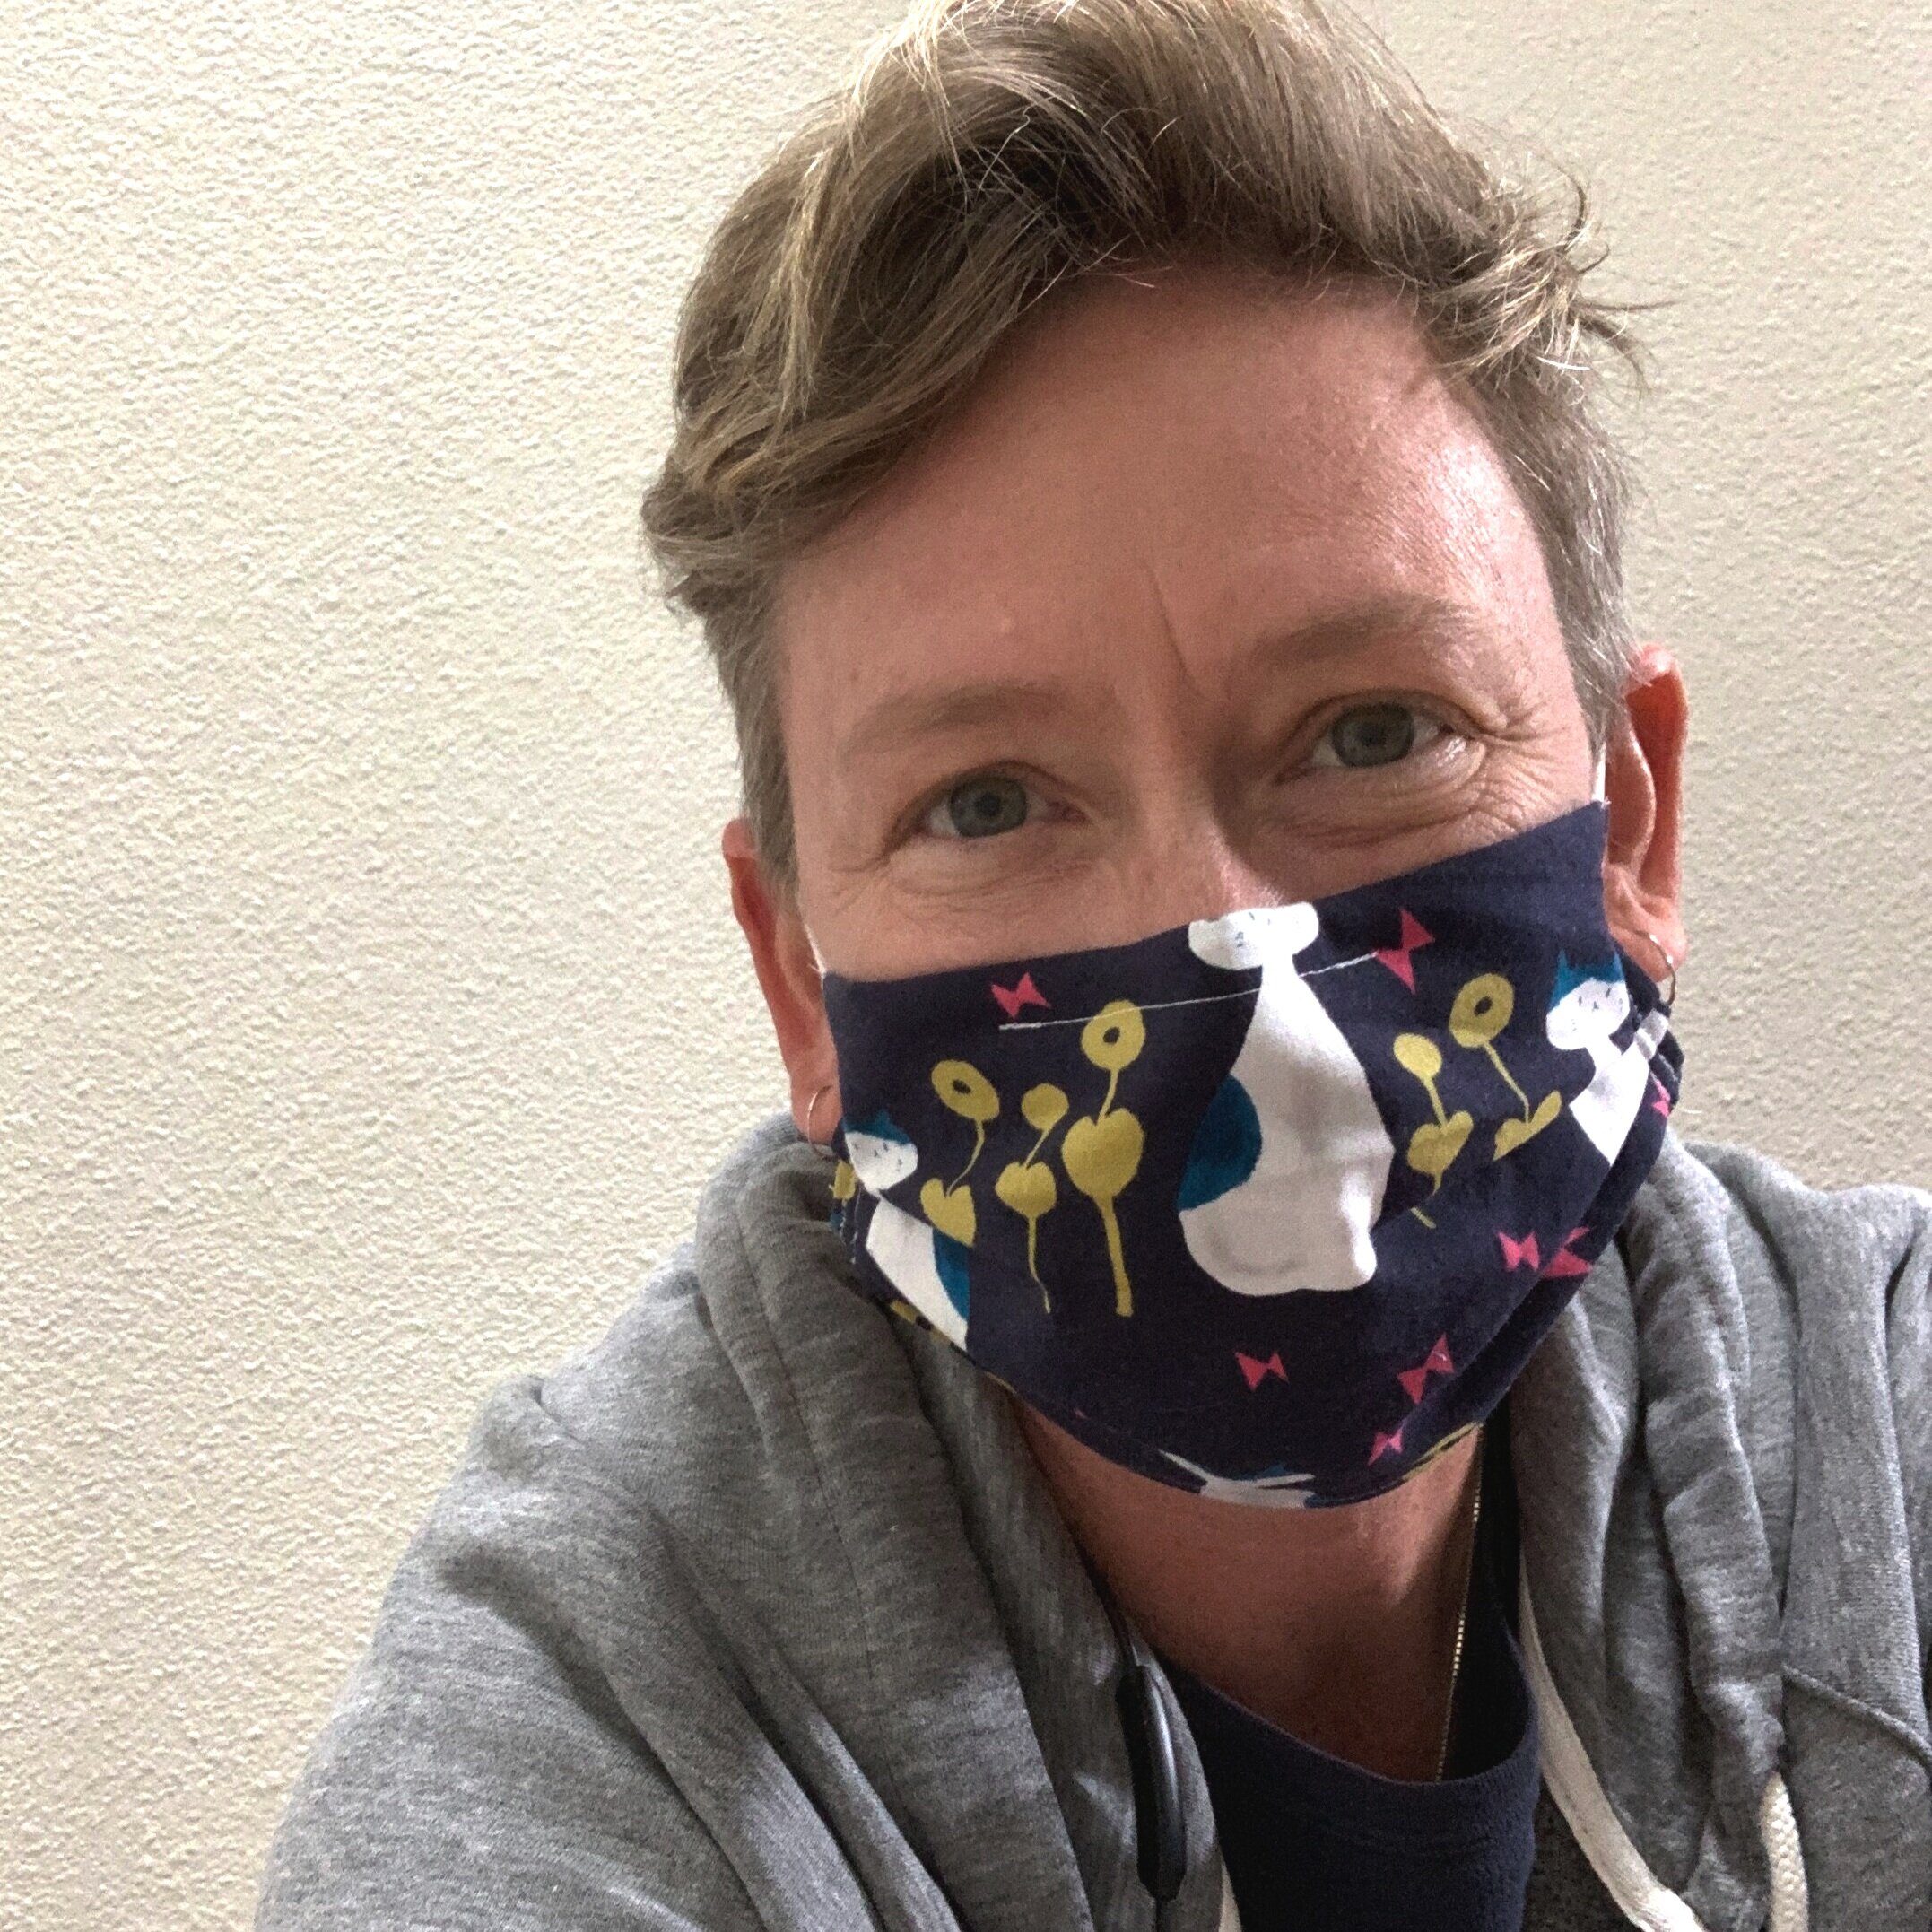
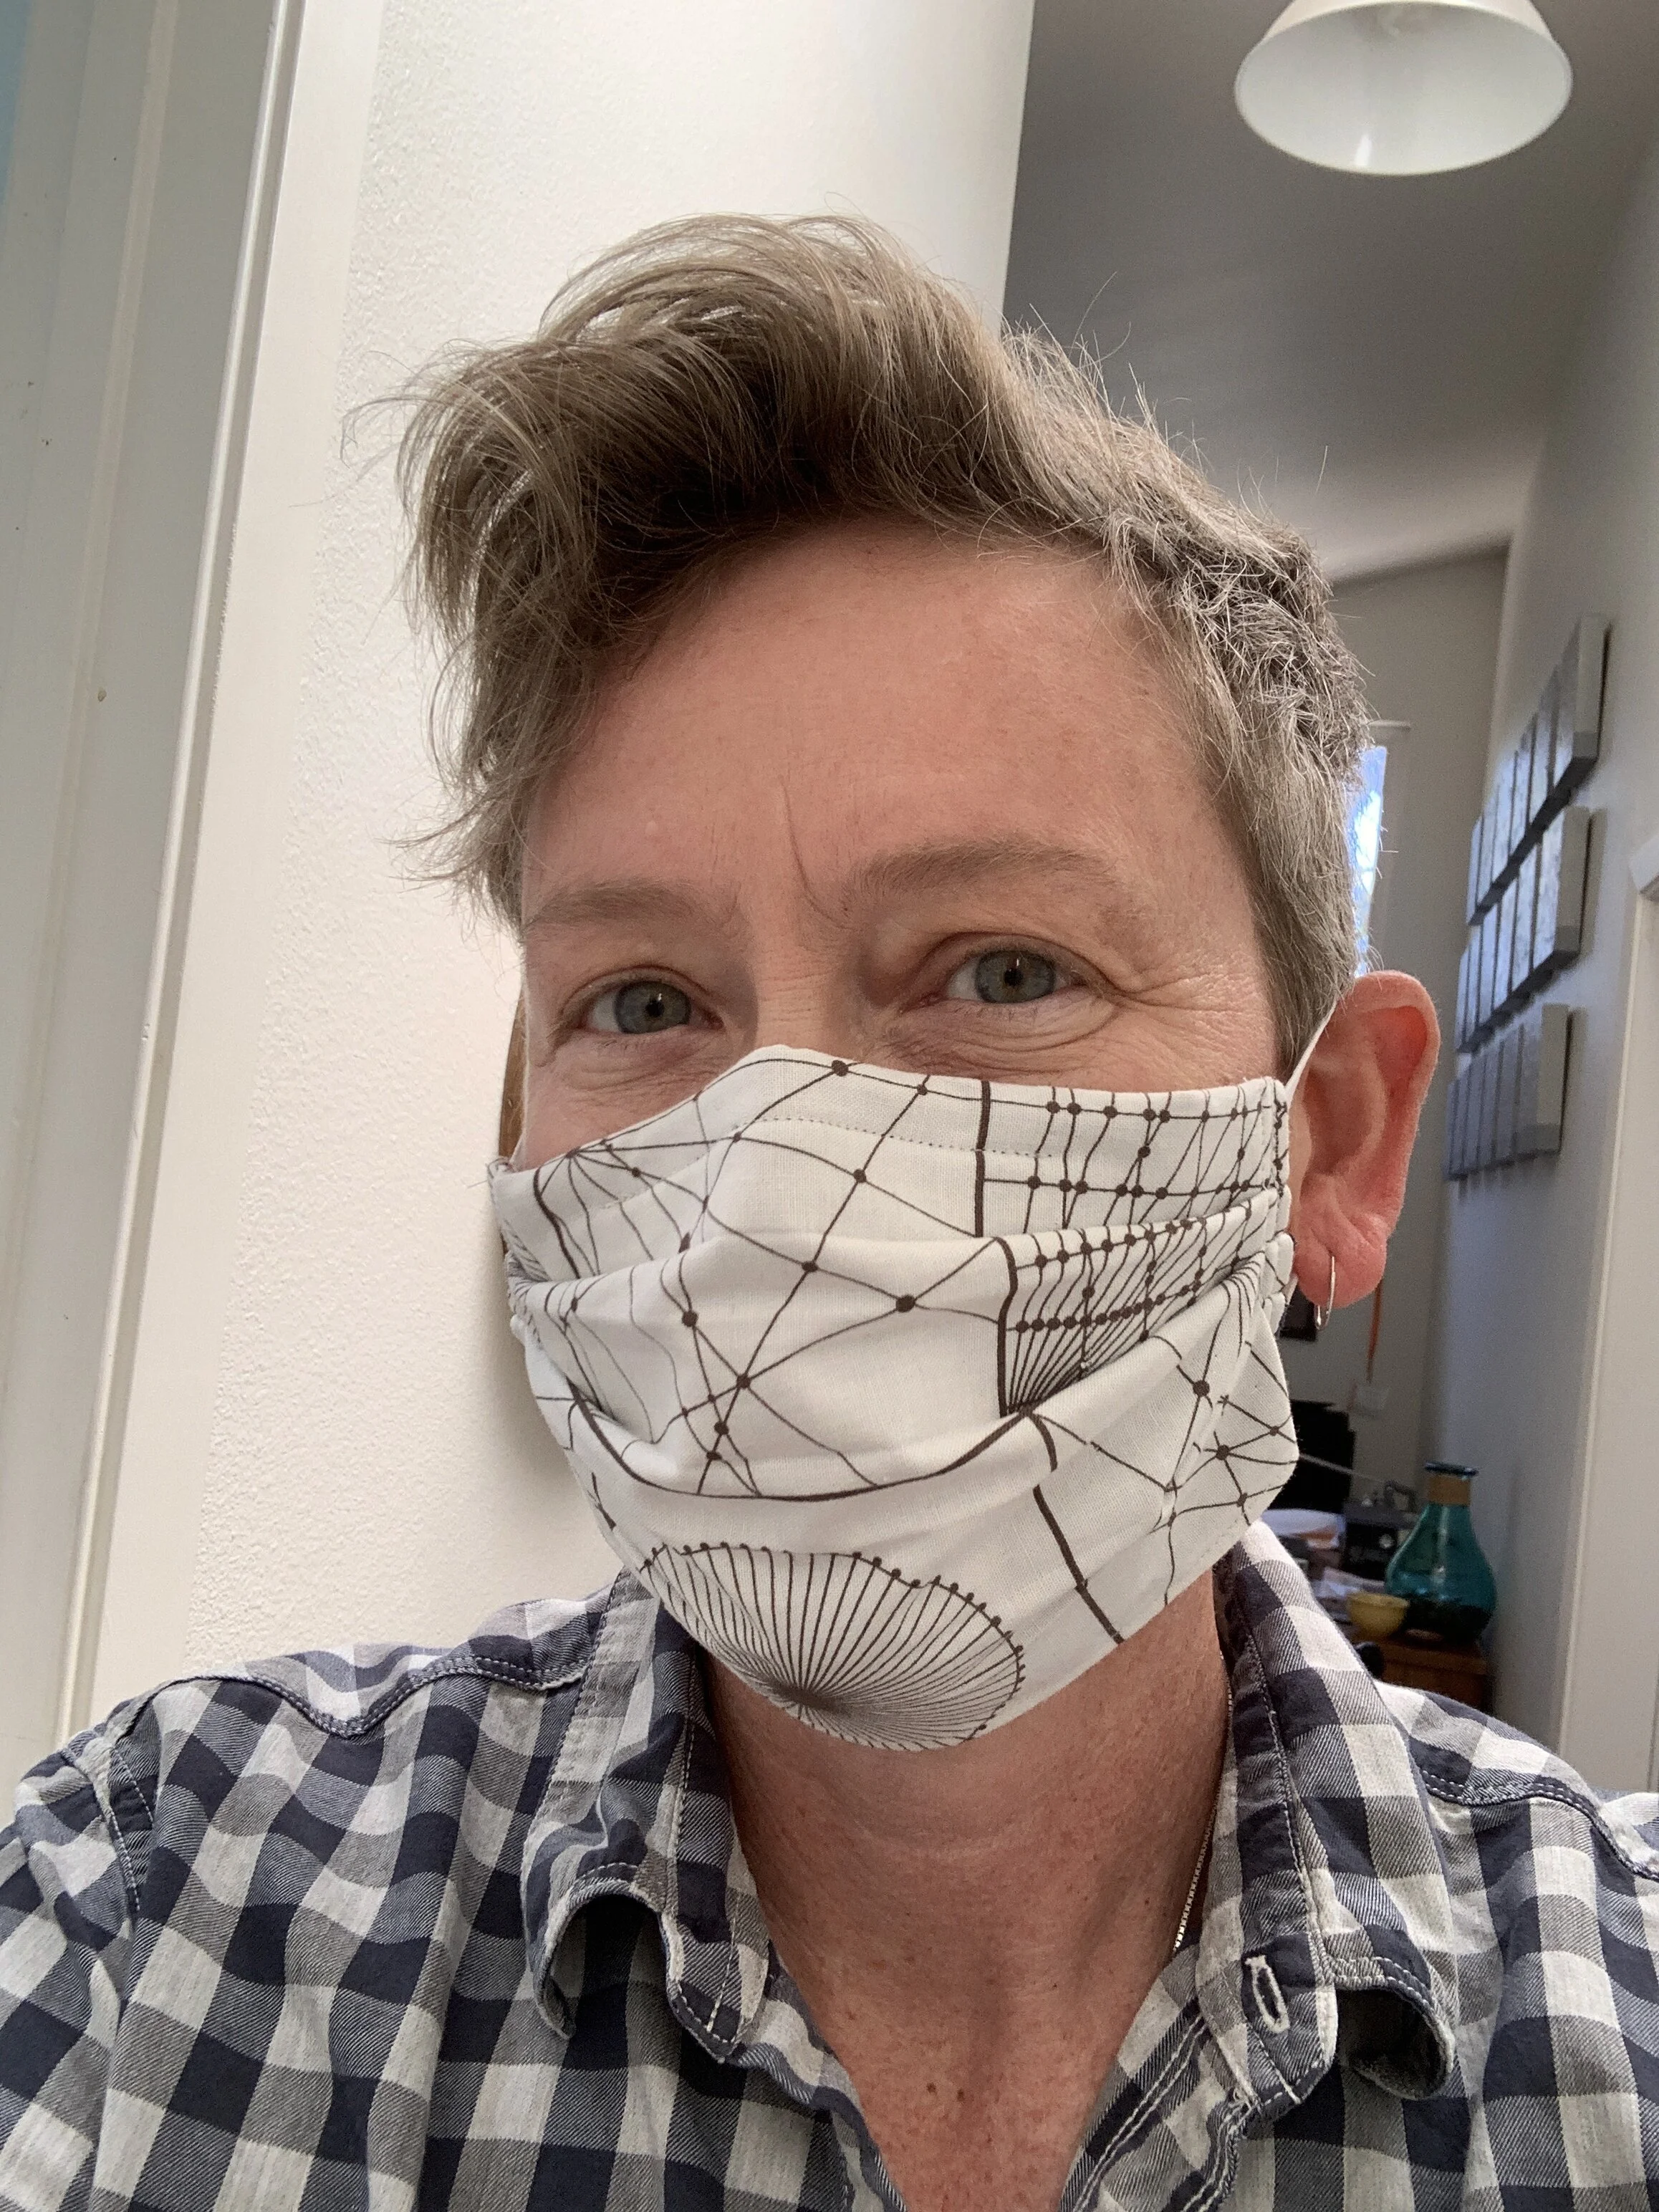
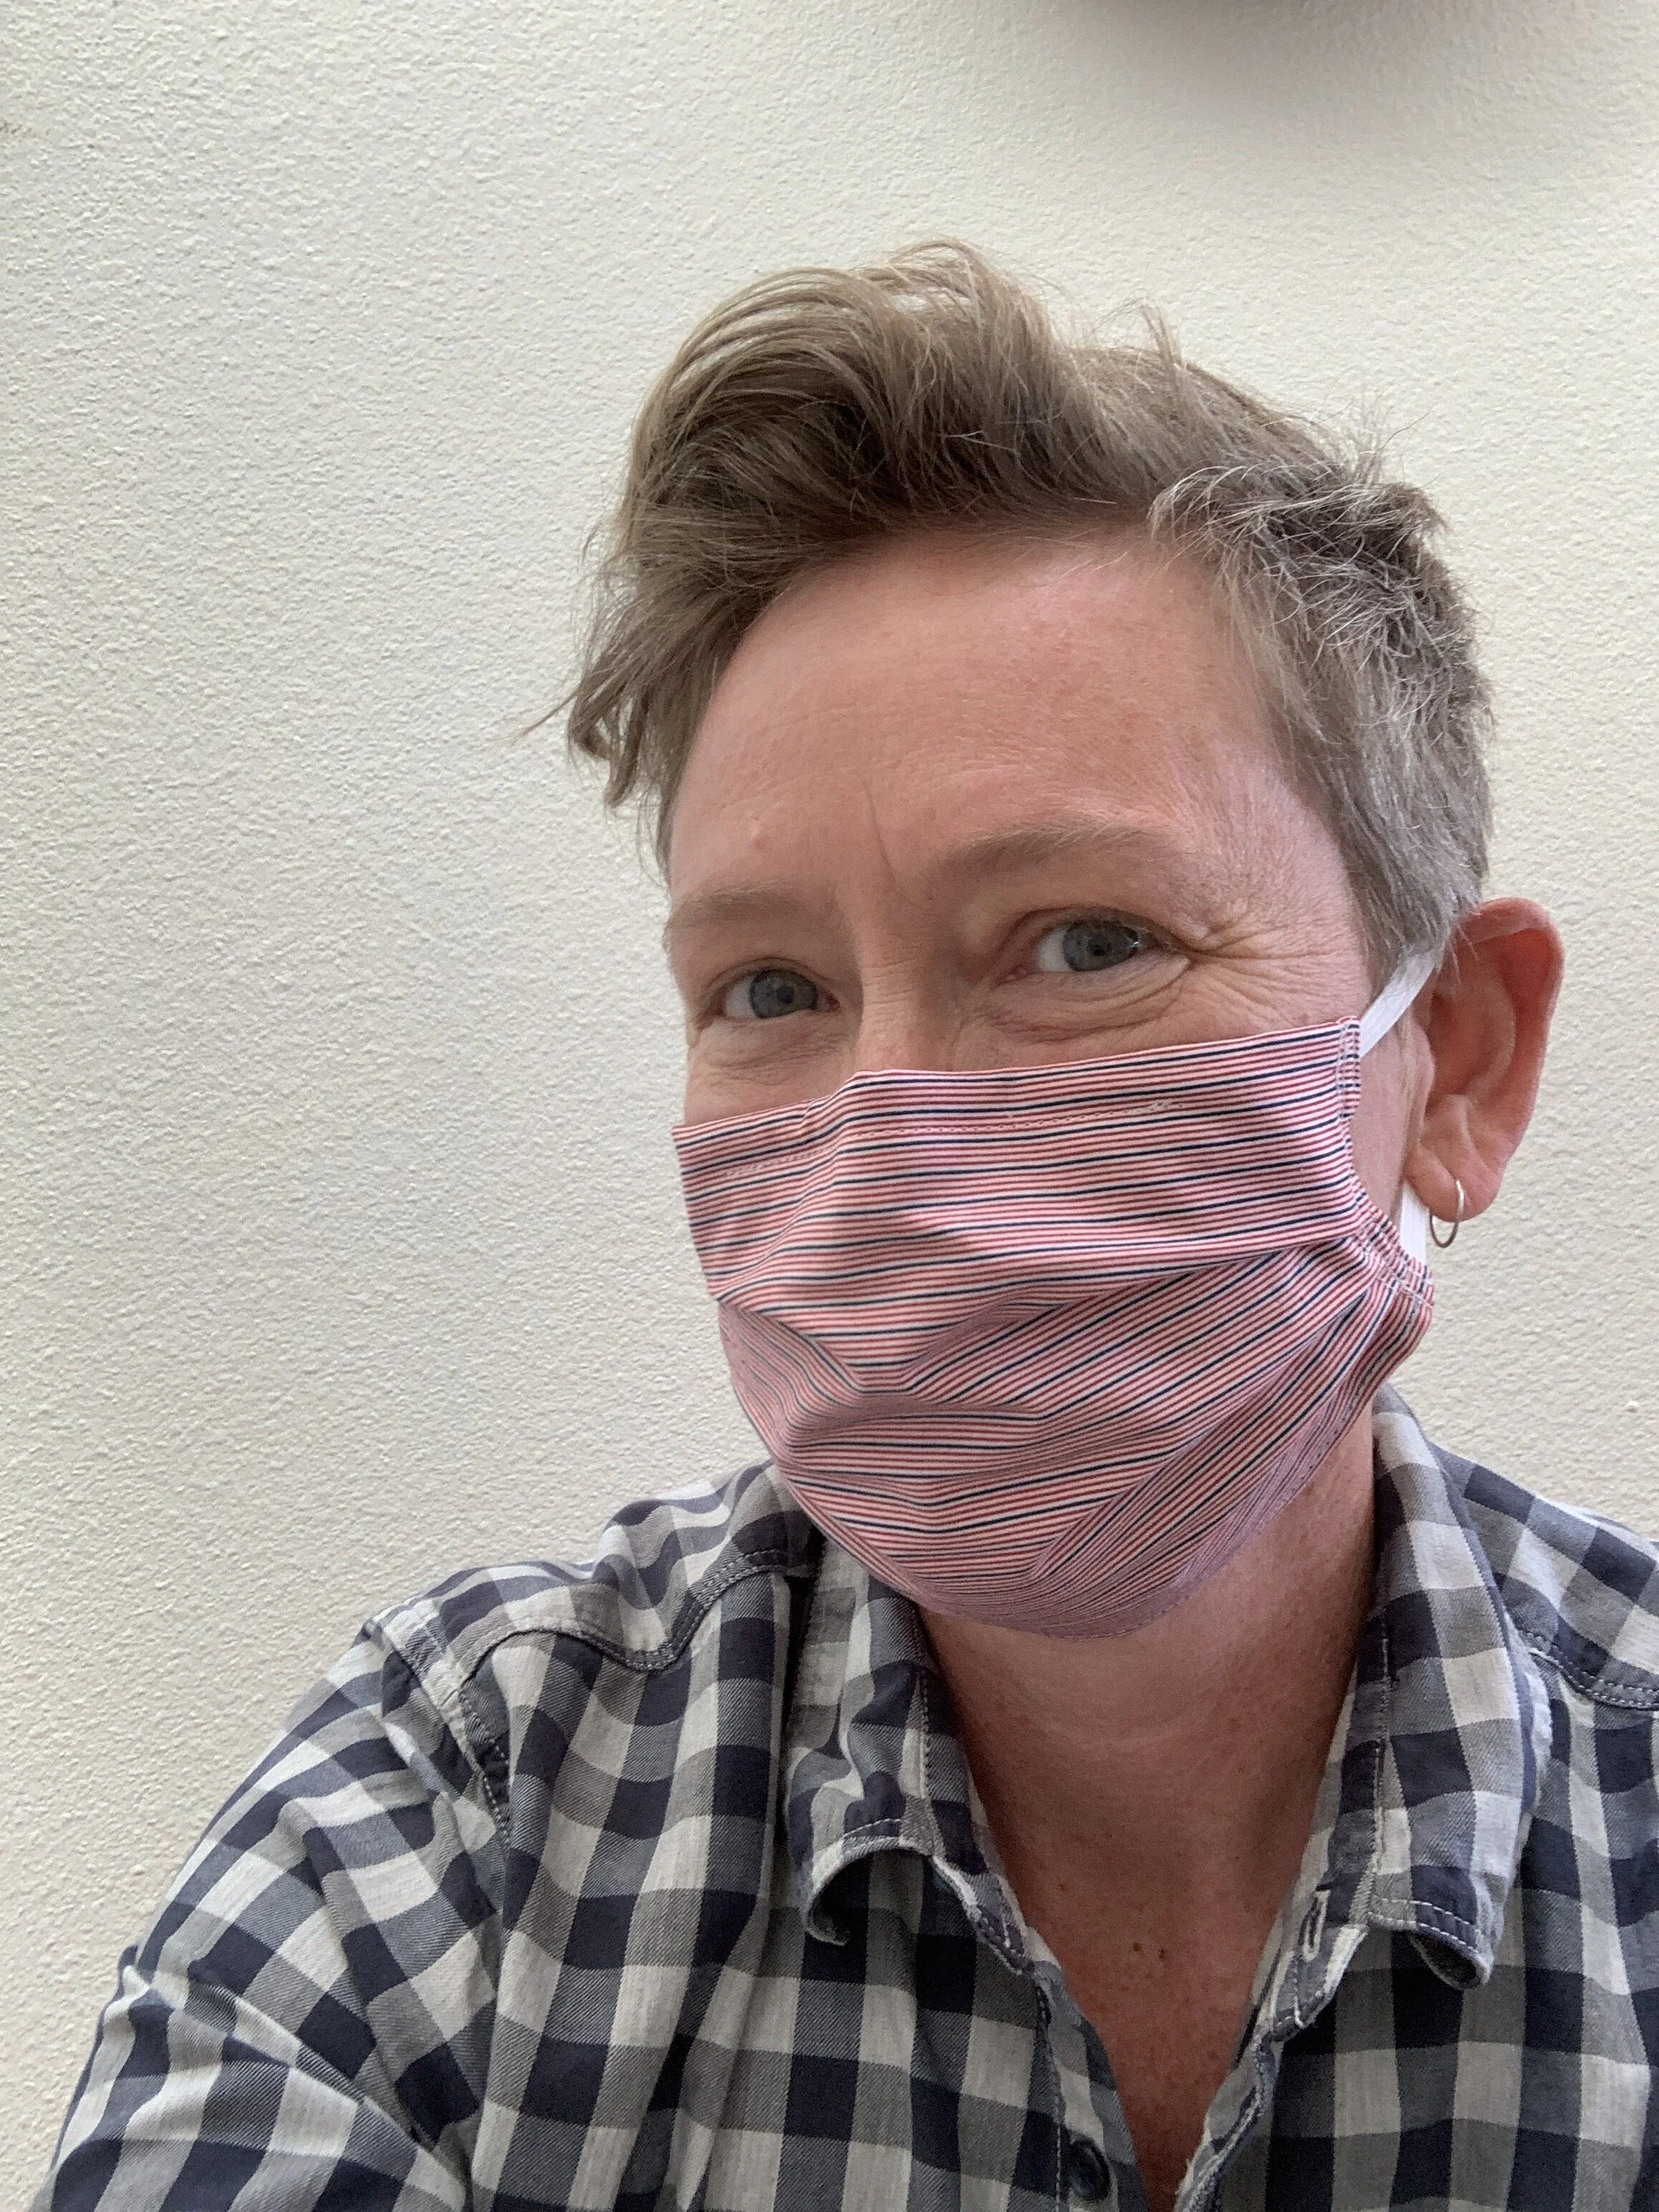
It fits well, it’s super easy to make, and I hope you’ll share your pix if you make one of this pattern!
The CDC recommends wearing cloth face coverings in public settings where other social distancing measures are difficult to maintain (e.g., grocery stores and pharmacies) especially in areas of significant community-based transmission.
https://www.cdc.gov/coronavirus/2019-ncov/prevent-getting-sick/cloth-face-cover.html
Please understand that these face masks are not a replacement for medical grade Personal Protective Equipment, and in circumstances where medical grade Personal Protective Equipment is recommended, you should consult a health care professional. The decision to use this mask is solely your own.
Please remember that use of face masks is not intended to replace other recommended measures to stop the community spread of COVID-19, such as social distancing, washing your hands and refraining from touching your face. Follow the latest advice of the CDC and your own health care professionals as to how best to keep yourself safe.
-
MATERIALS NEEDED:
Two pieces of fabric 7 inches by 9 inches
Two 7” long pieces of elastic (I finally found this kind I really like on Amazon) -or- 4 long ties (shoelaces, or hemmed strips of fabric work well too)
Pipe cleaner (cut to ~6 inches) (Here’s the kind I like on Amazon)
Sewing machine, thread, ironing board, pins
optional - painters tape or masking tape
1. Cut 2 pieces of fabric 7”x9”
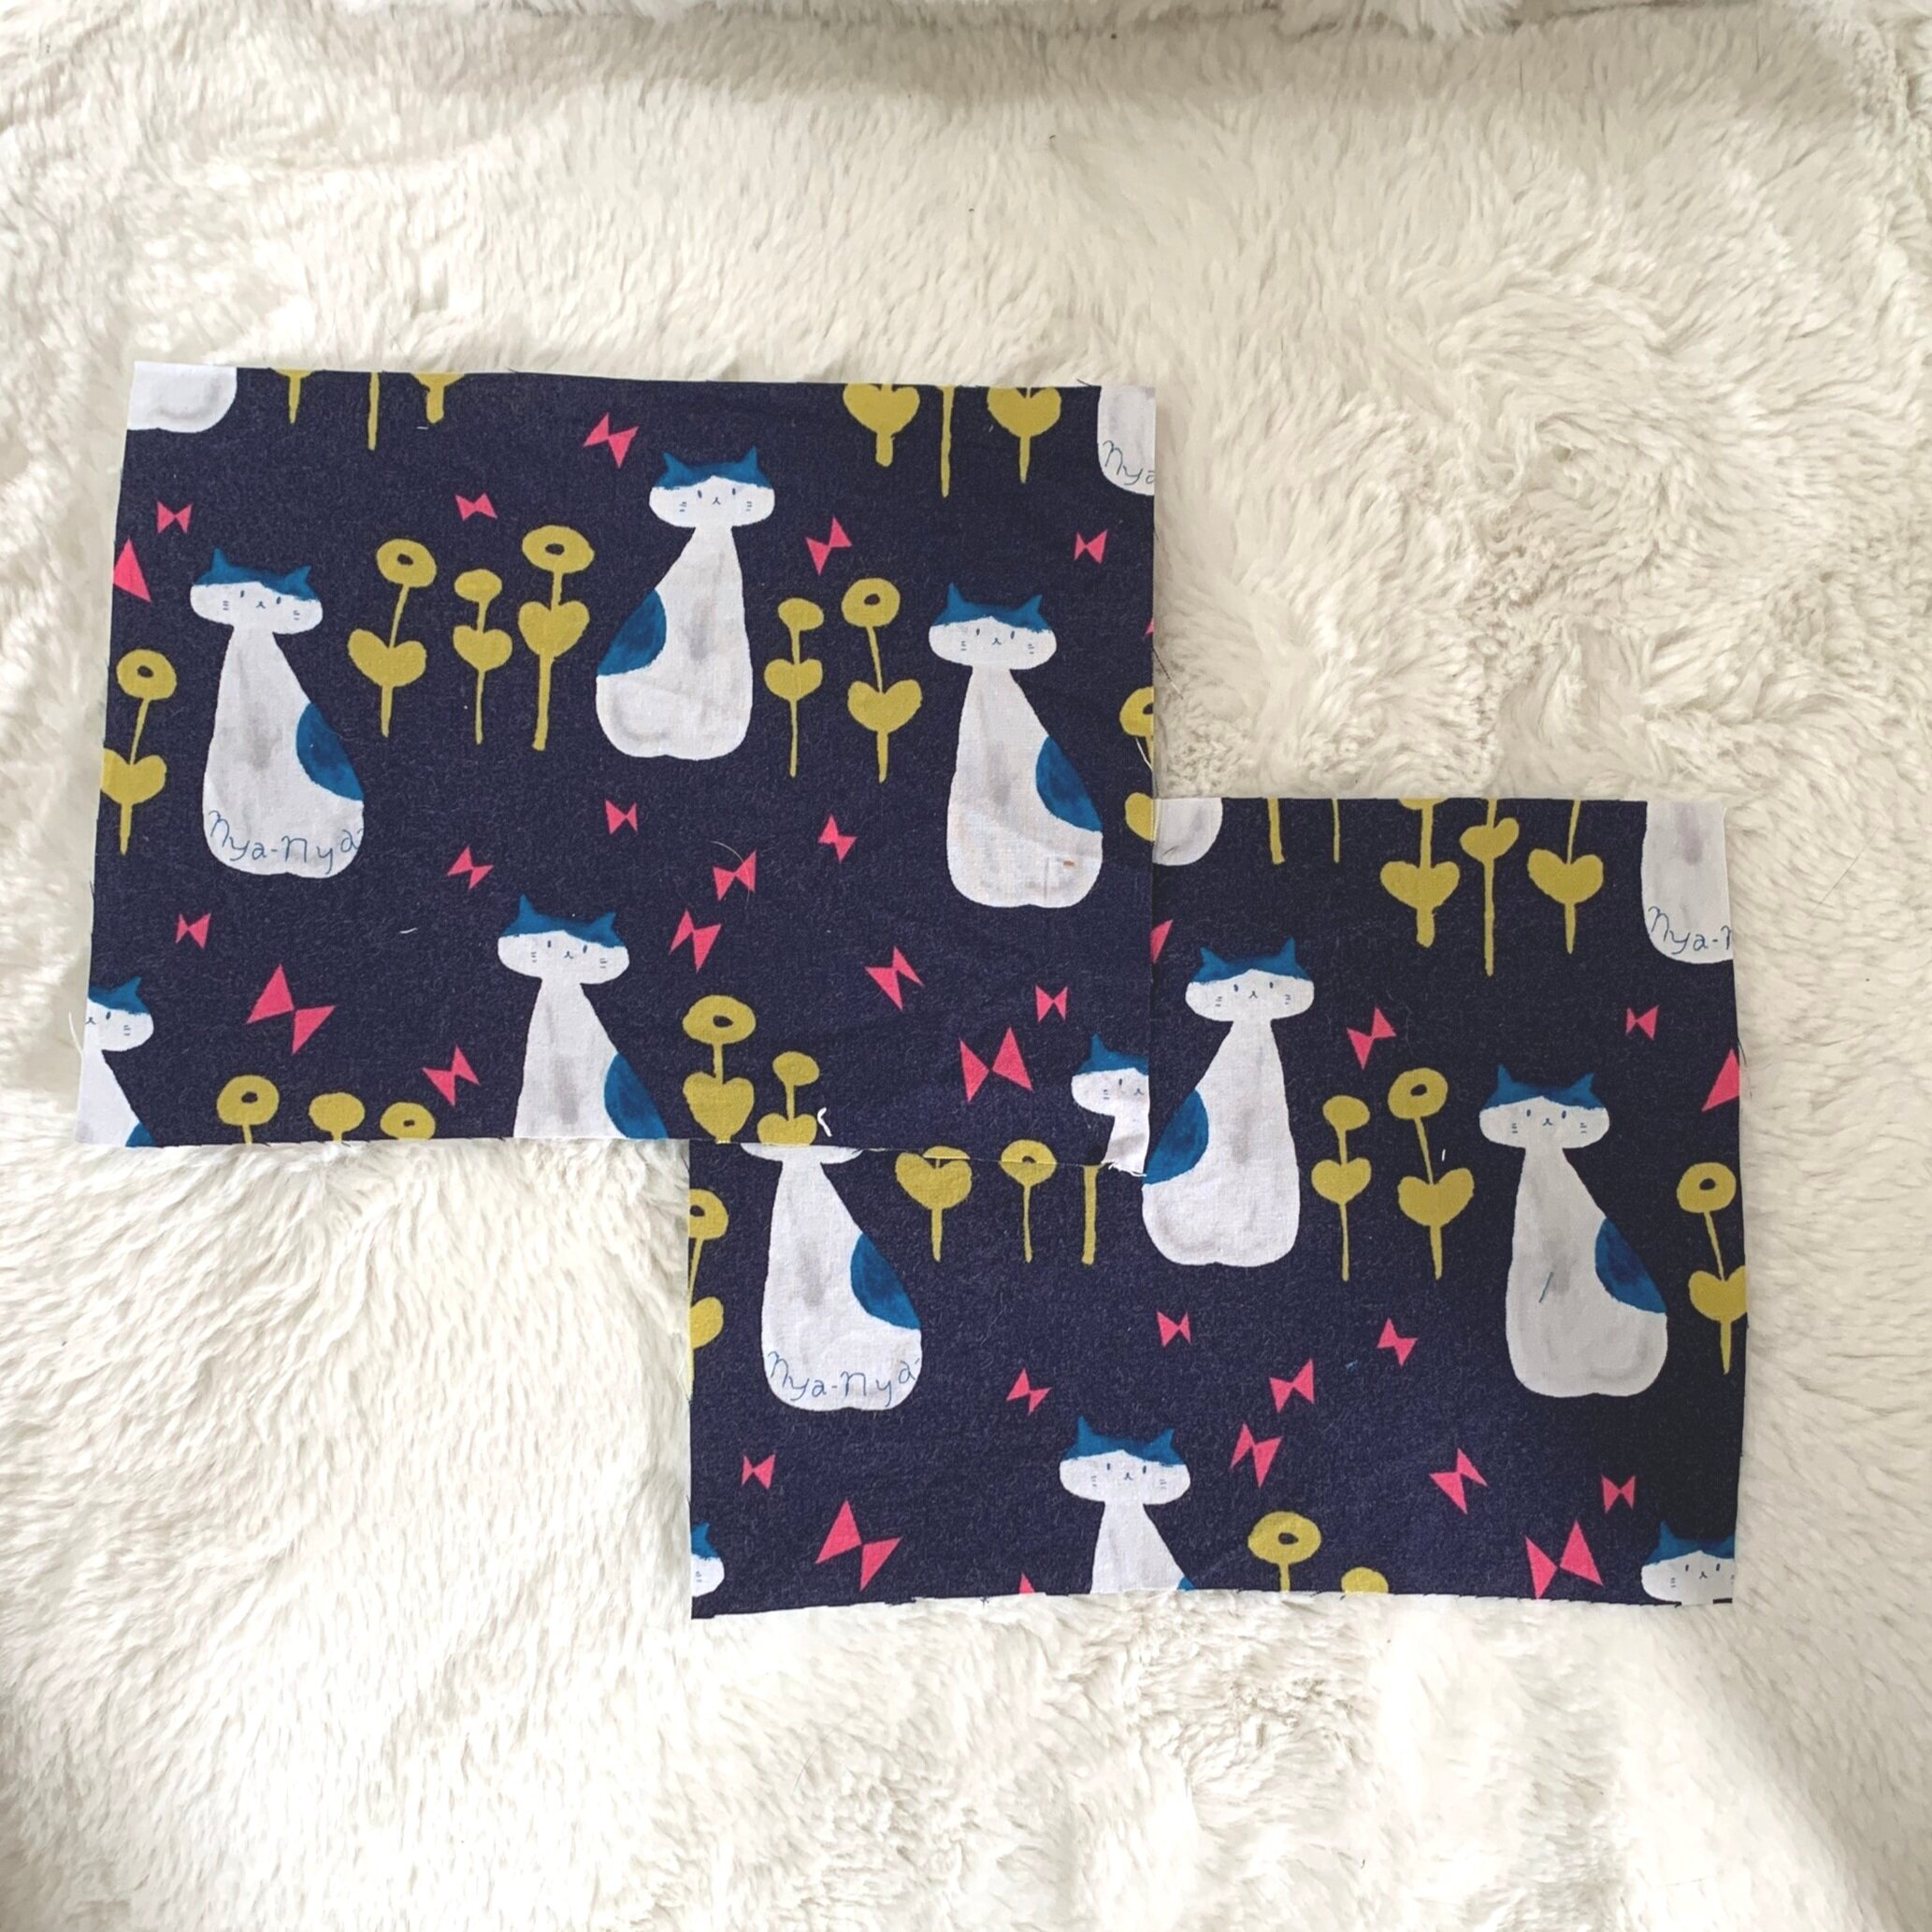
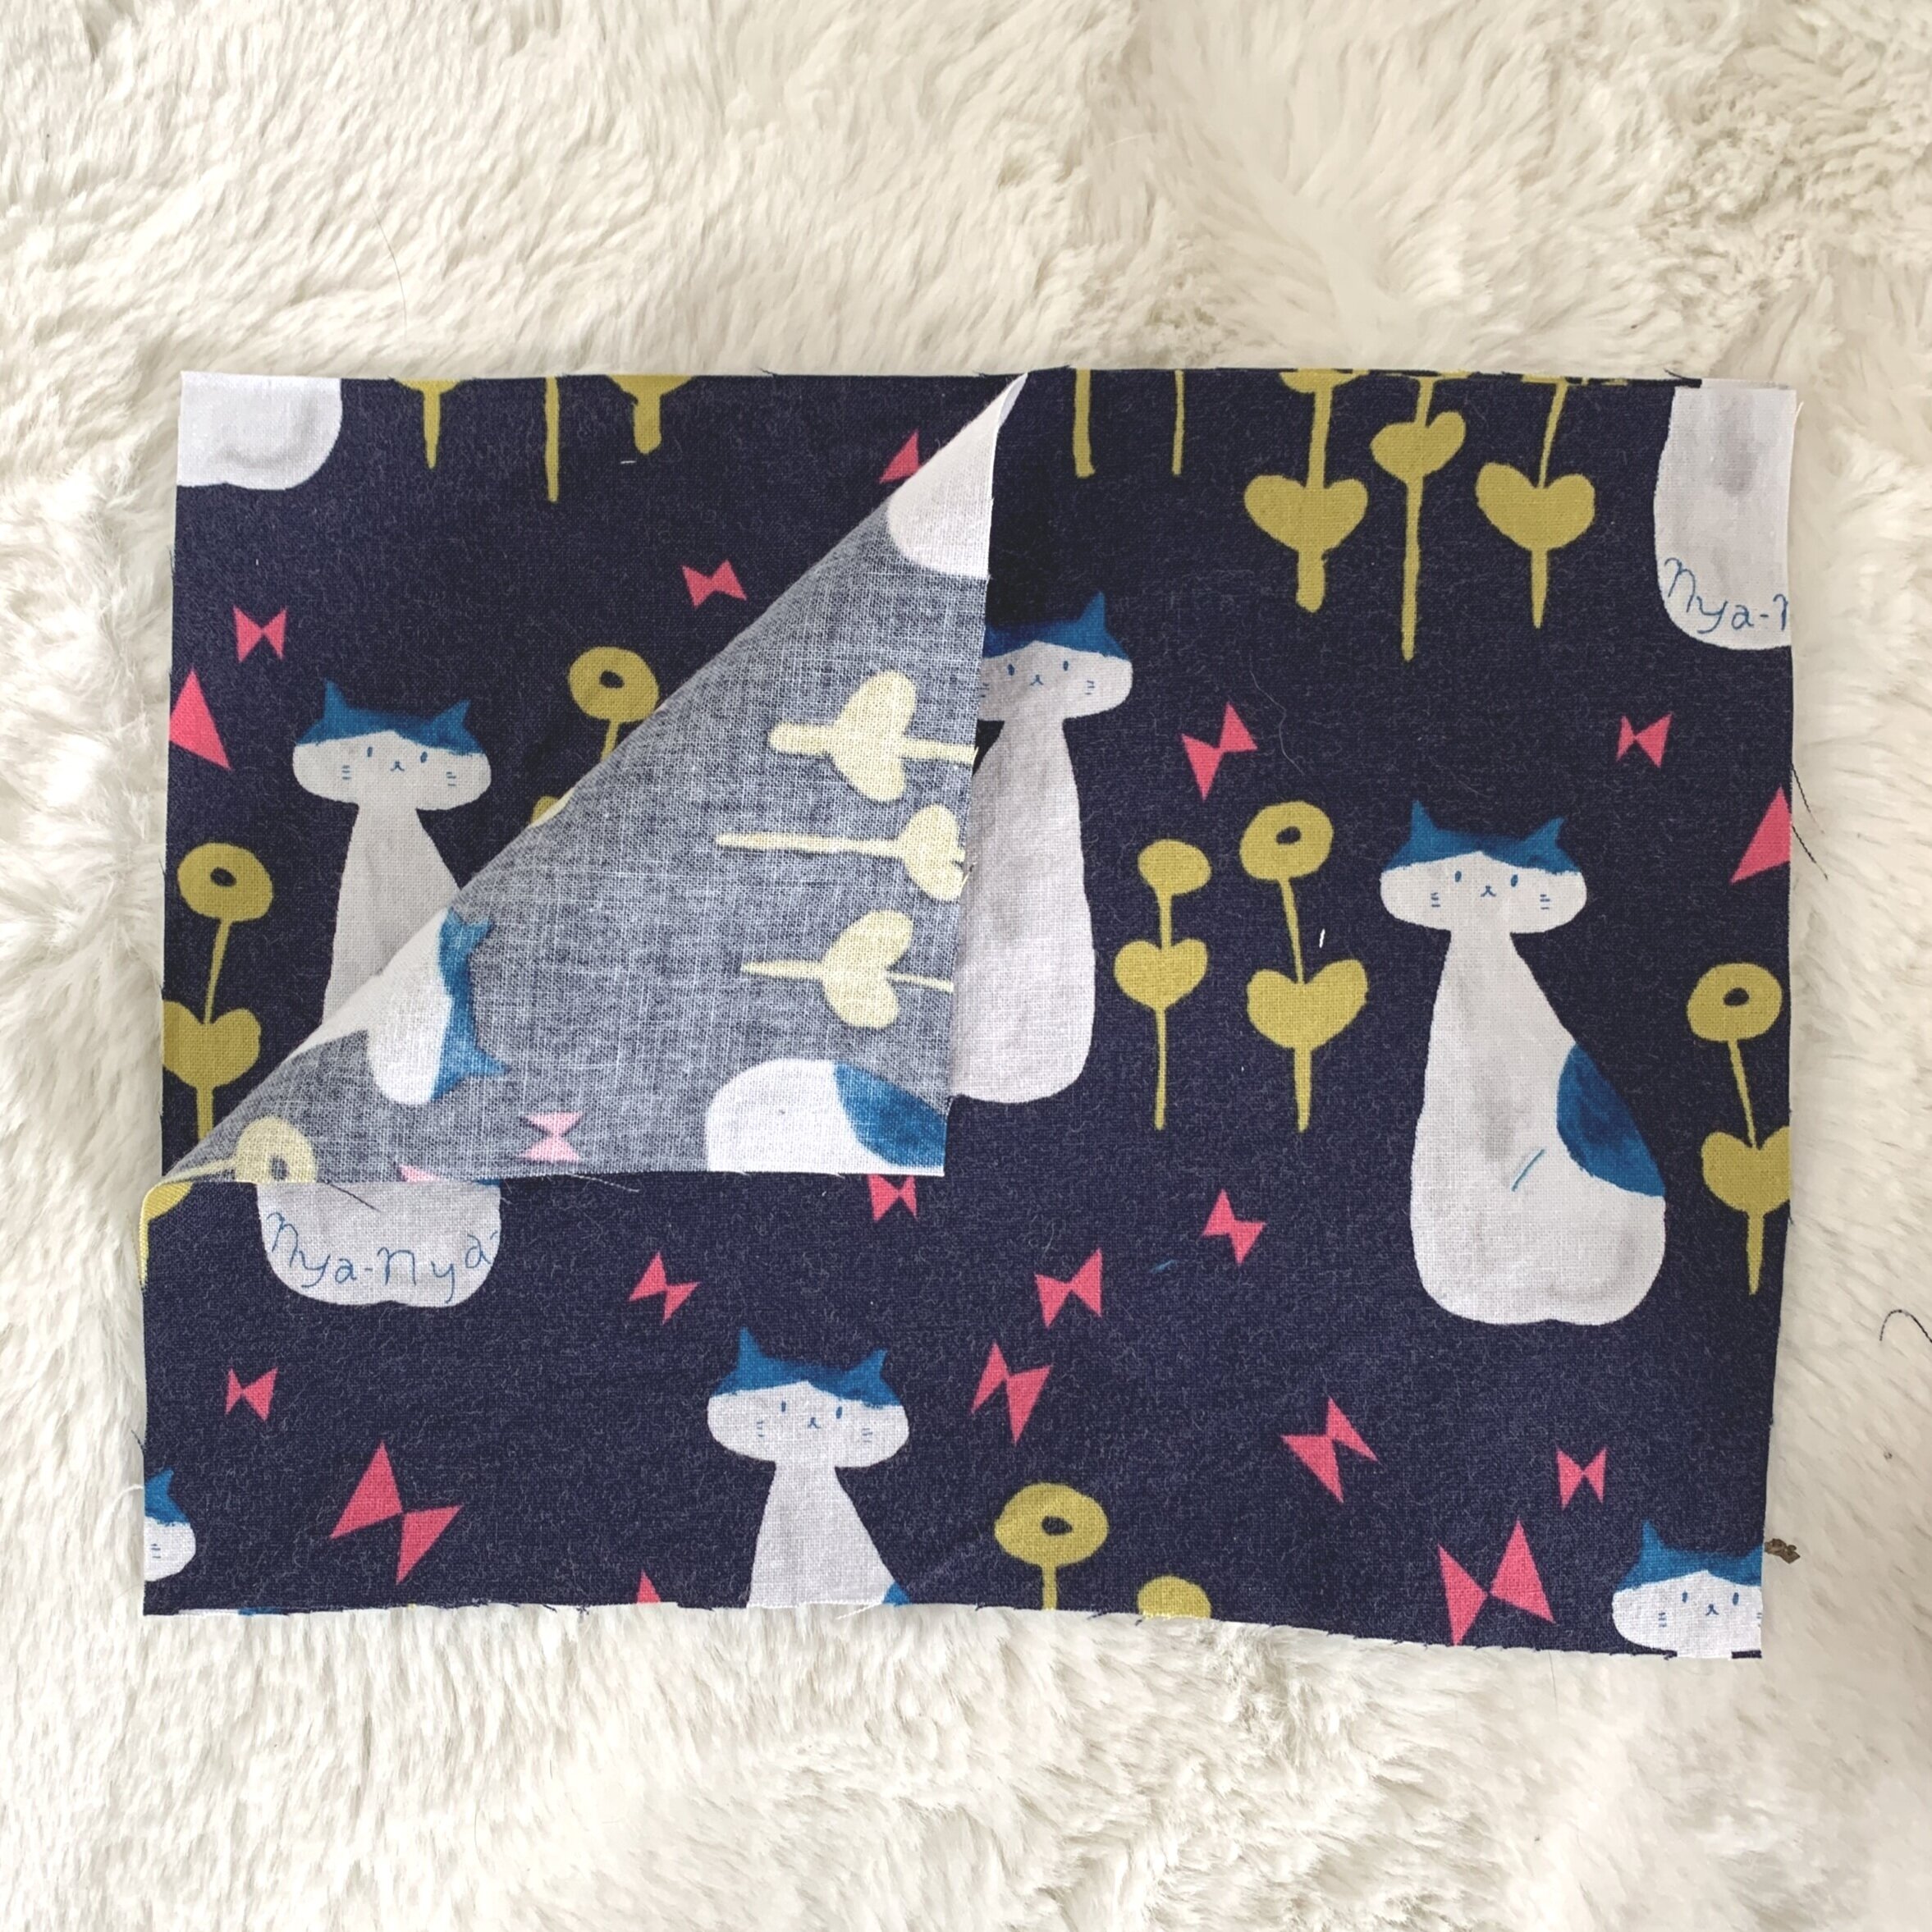
2. Place one “right” side facing one “wrong” side.
Why? For the lining (part that touches your face) you want to have the “ugly” side visible when the mask is done, so that you can easily see which side of the mask goes towards your face. You don’t ever want to accidentally wear the mask inside out.
3. Cut 2 pieces of elastic 7” long
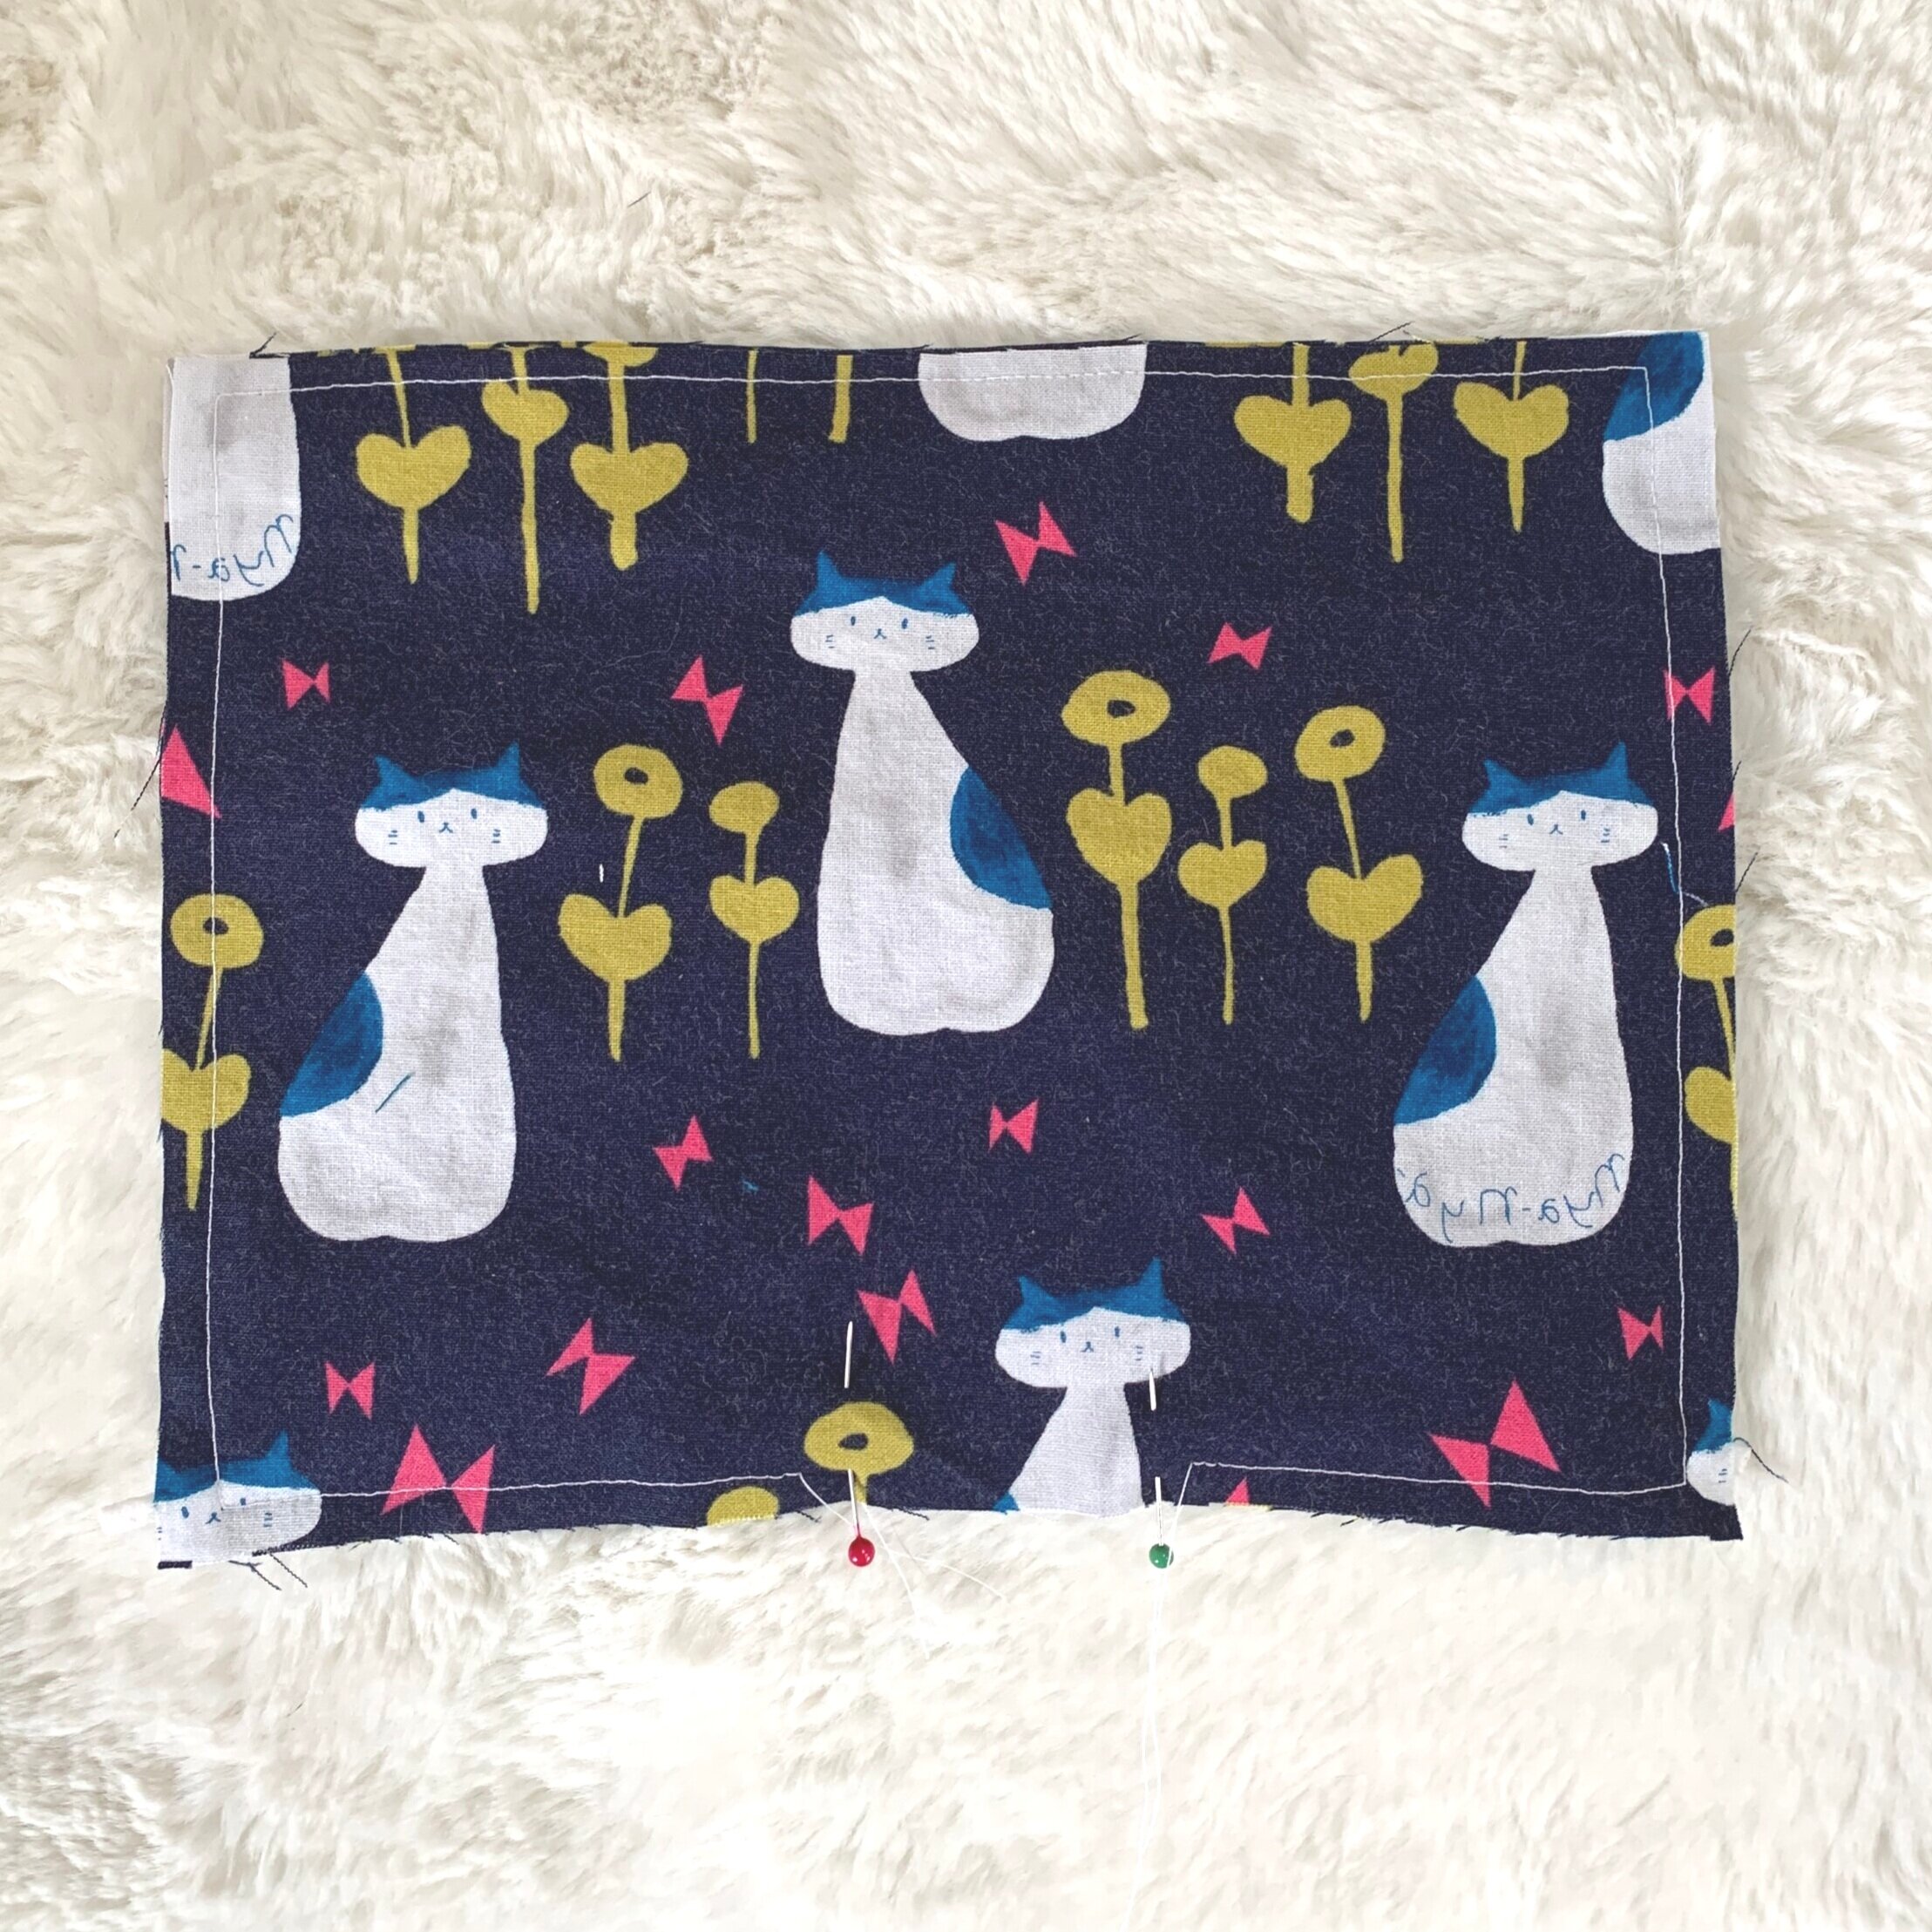
Pin the elastic between the two pieces of fabric at the two bottom corners, with the majority of the elastic pointed in towards the center of the mask, leaving just enough of the elastic to be sewn into the outer edge of the mask.
You’ll be sewing 1/2 inch around the entire outer edge, so make sure the elastic inside is at least 1/2” from the edges so it won’t get caught in any of the seams.
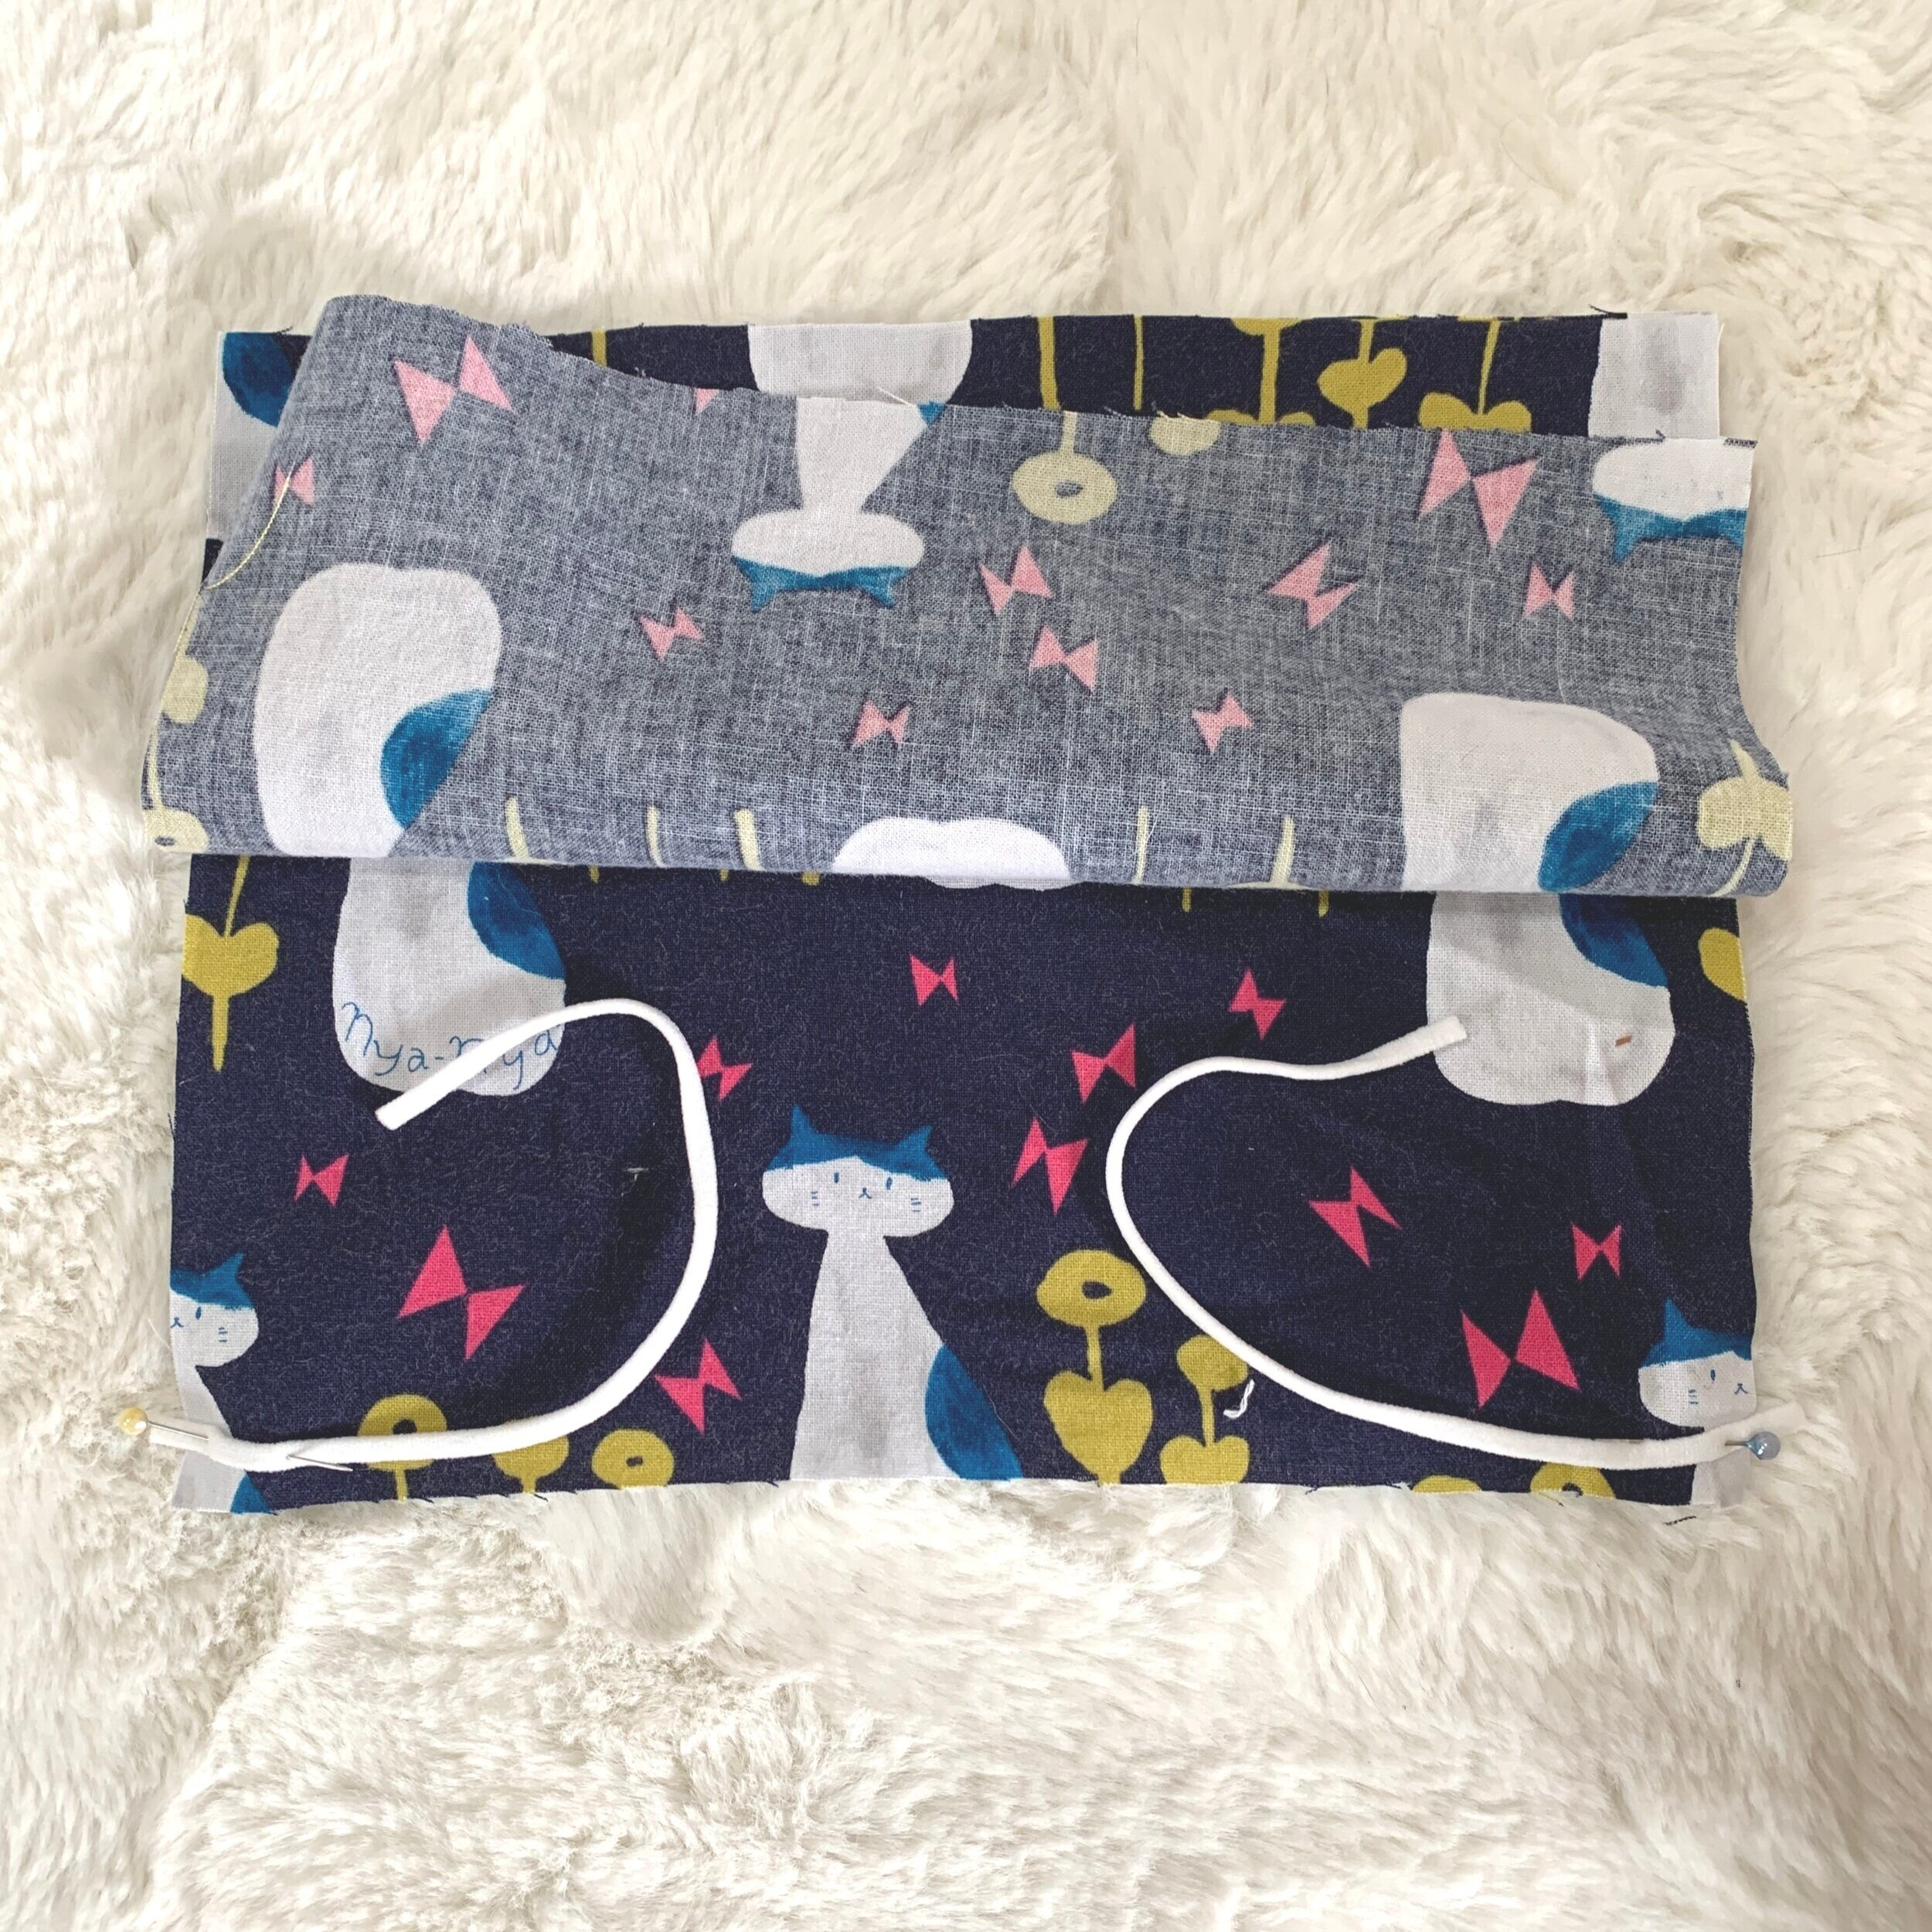
4. Sew around the perimeter, leaving an opening of 1-2” so you’ll be able to turn the whole thing right side out. (In photo example, you would start at the green pin and sew around to the red pin)
5. Trim the corners before turning right side out.
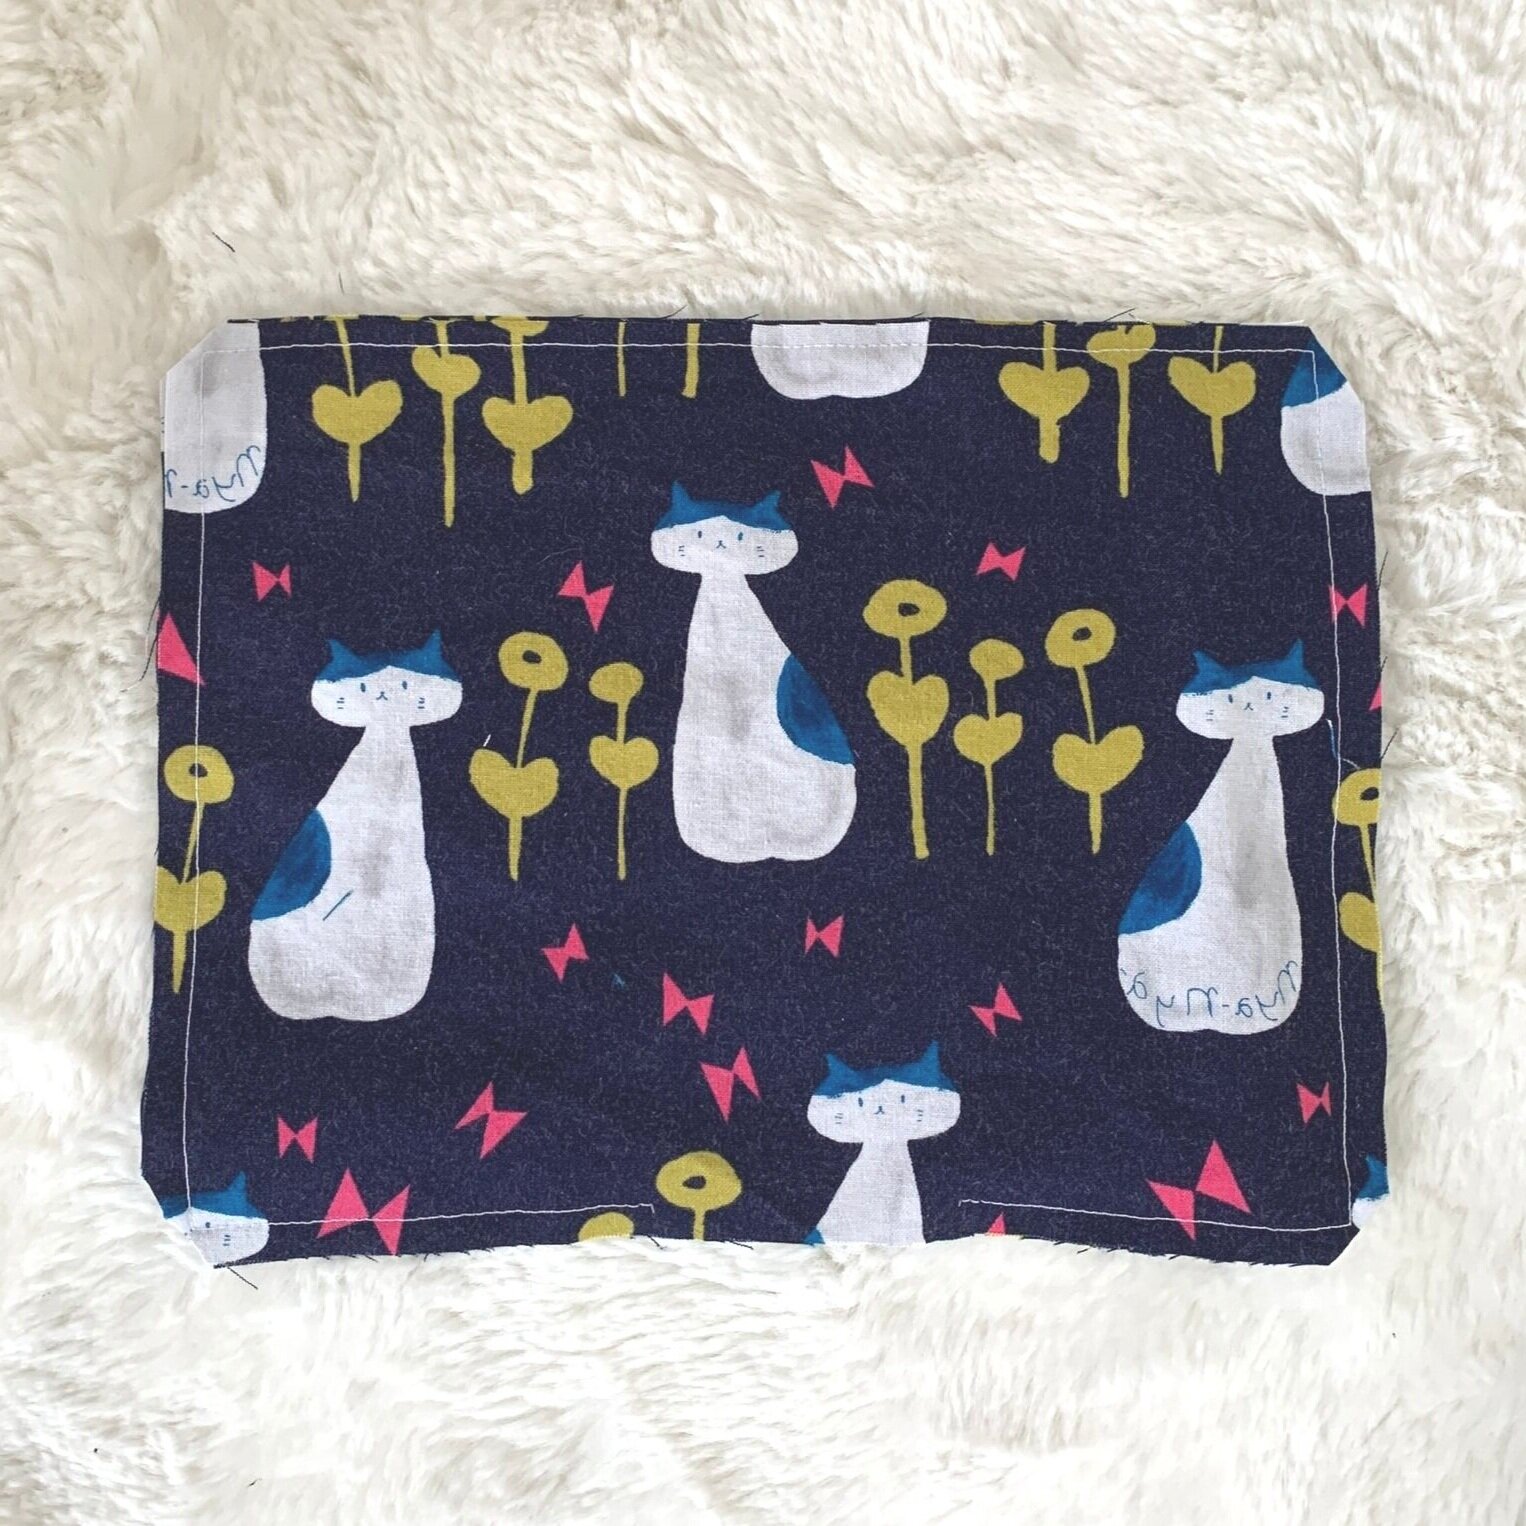
6. Turn right side out. Use a chopstick or some thin stick to help get seam flat and press.
Make sure to neatly fold in the fabric where the opening was left, because that will be sewn shut in a few steps.
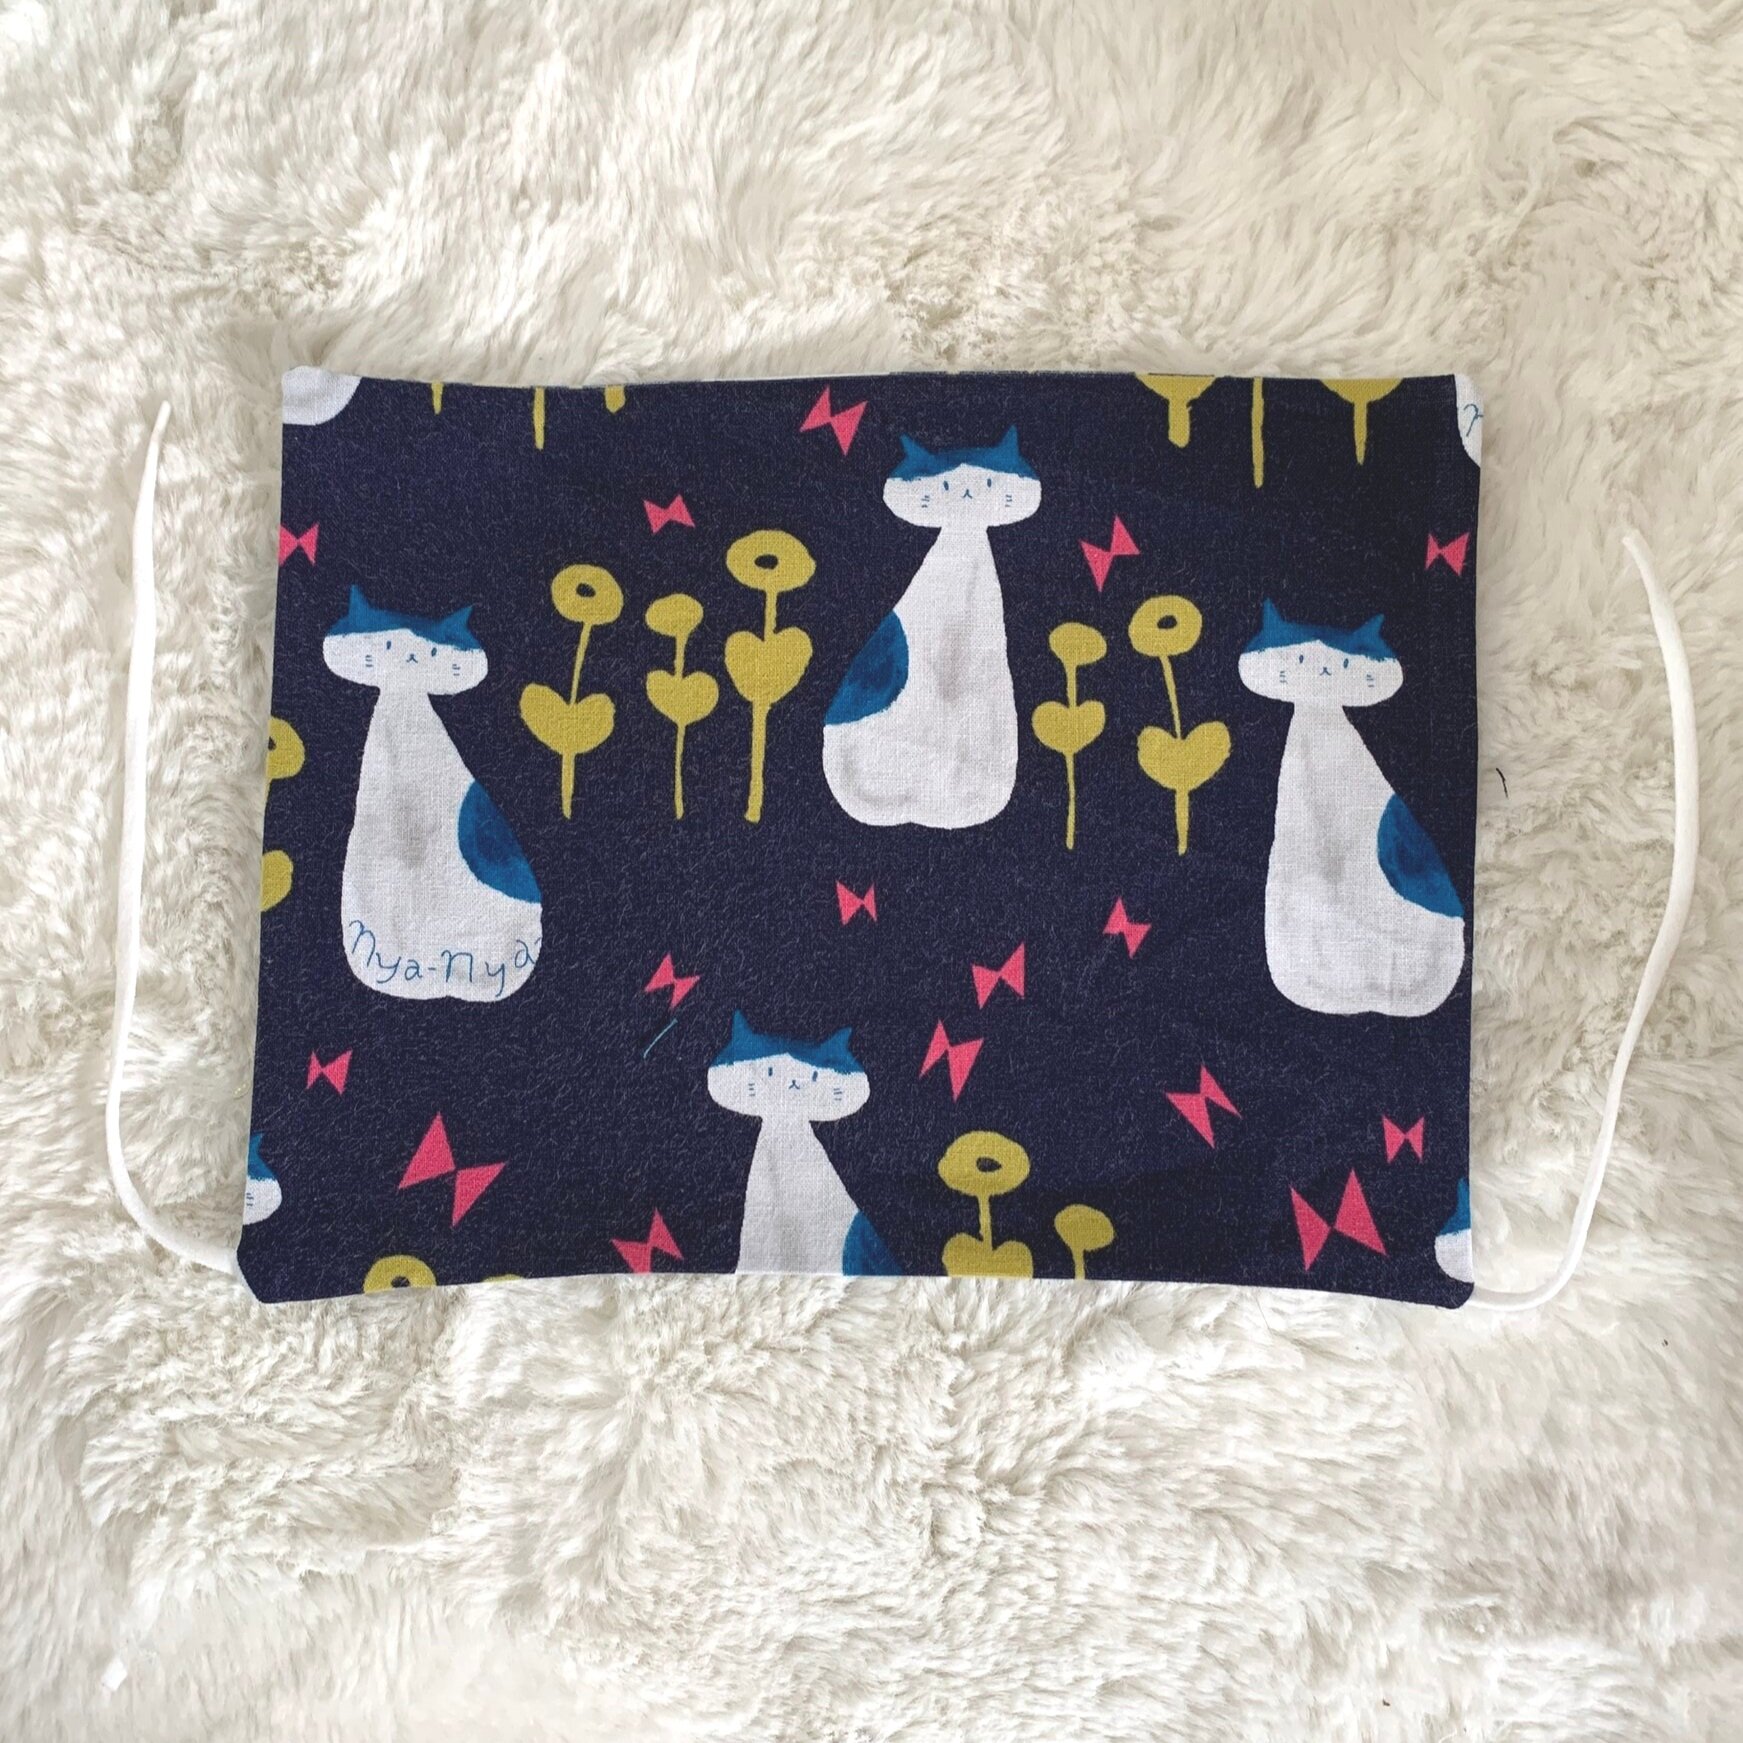
7. With inside lining of the mask facing up, turn top edge down ½” in towards the inside, which will make the tunnel for the pipe cleaner. Press down.
Pin the loose end of the elastic straps under the top flap.
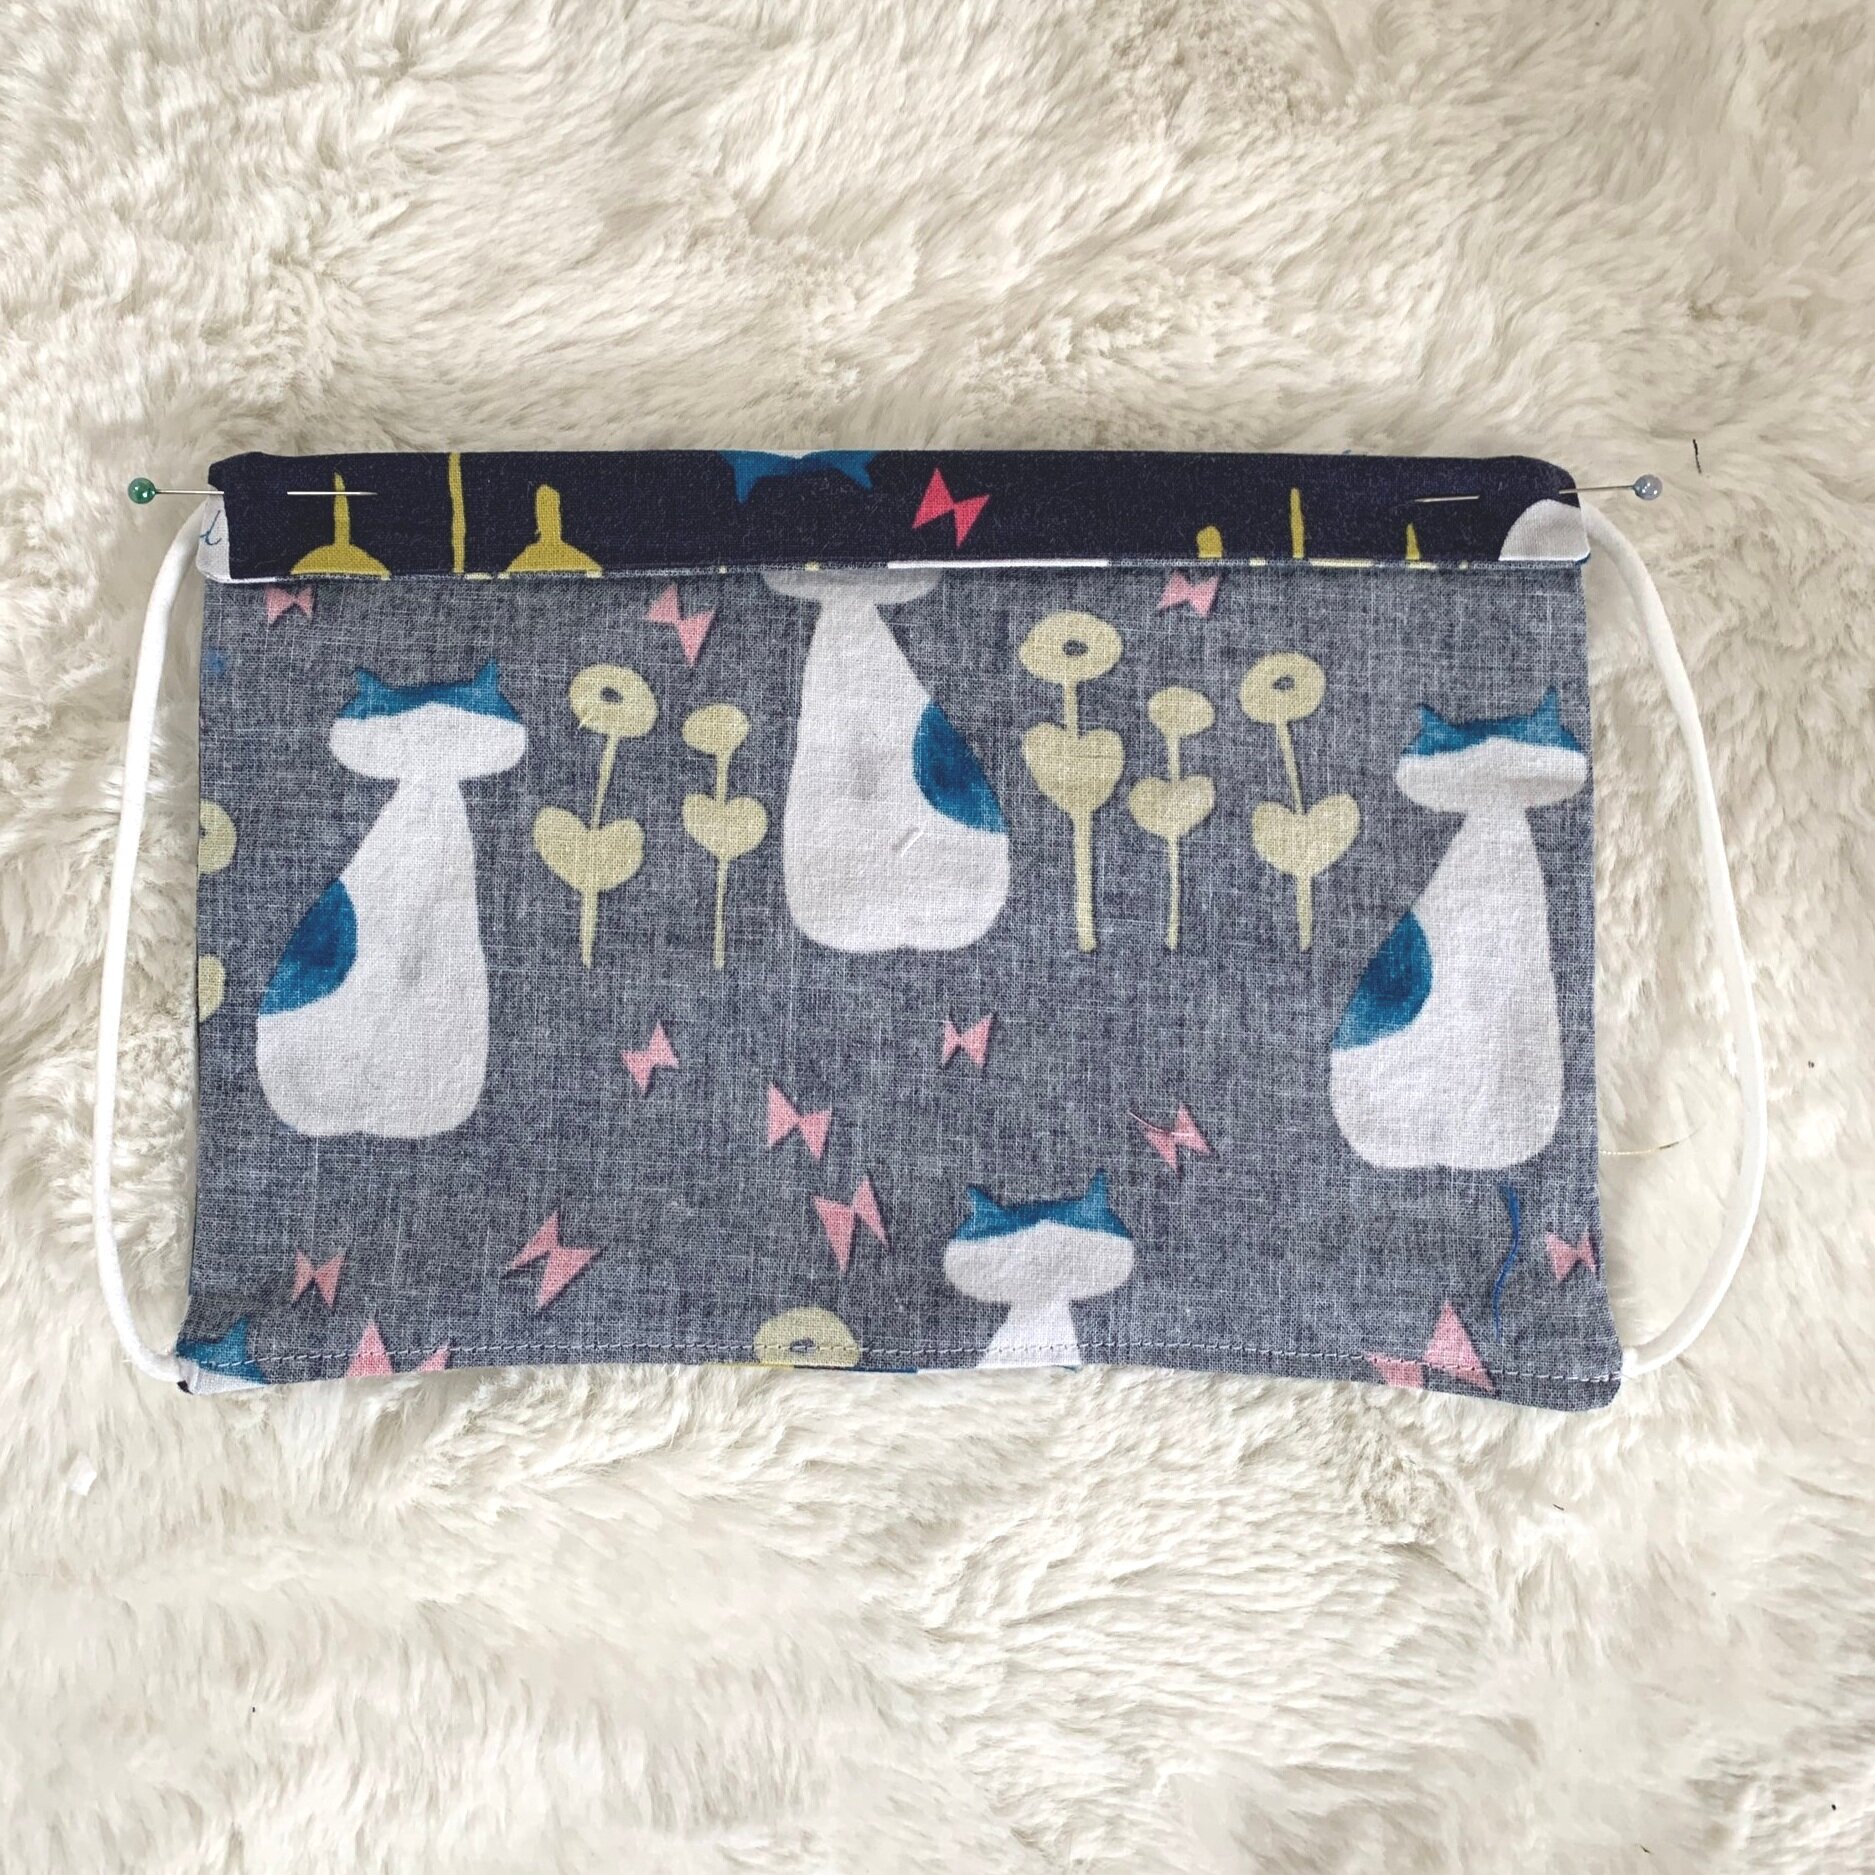
8. Sew appx 4 inches across bridge of nose with a 1/2” seam allowance to create the pipe cleaner tunnel. (From green pin to red pin; be sure to back stitch at both ends.)
Sew across the bottom edge with a 1/4” seam allowance to make sure the opening at the bottom is sealed shut.
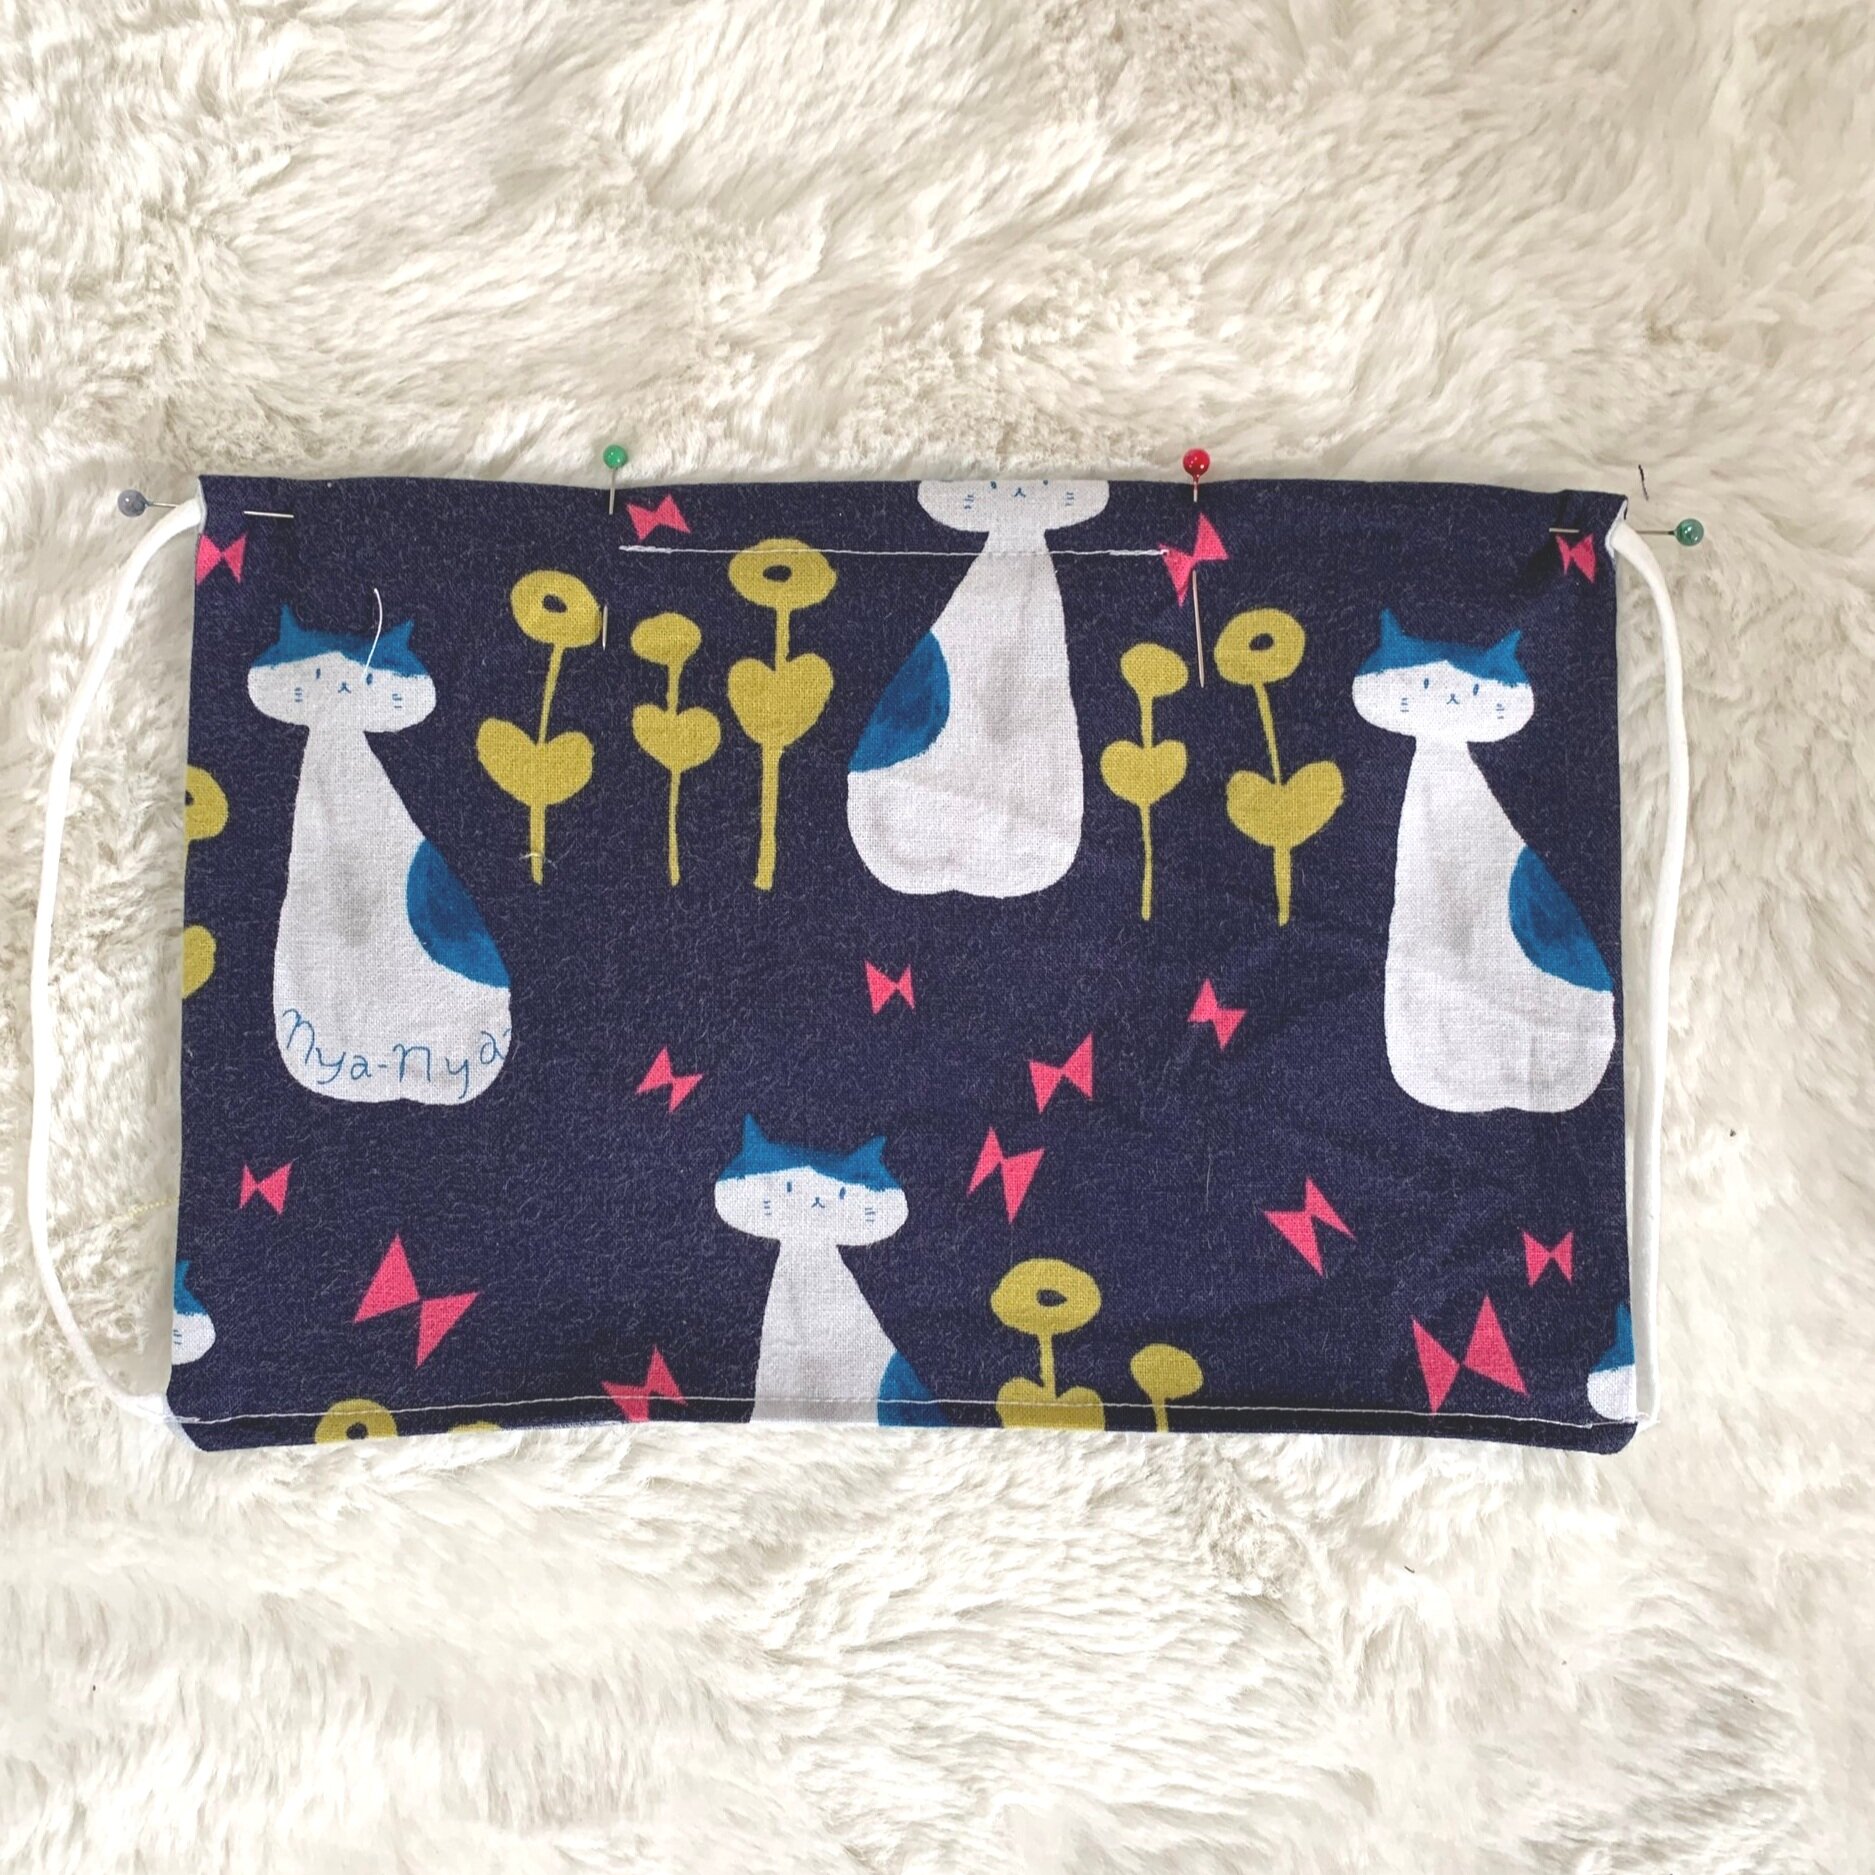
9. Gather edges accordion style with 3 pleats, making the mask ~ 2.5 inches from top edge to bottom edge and press.
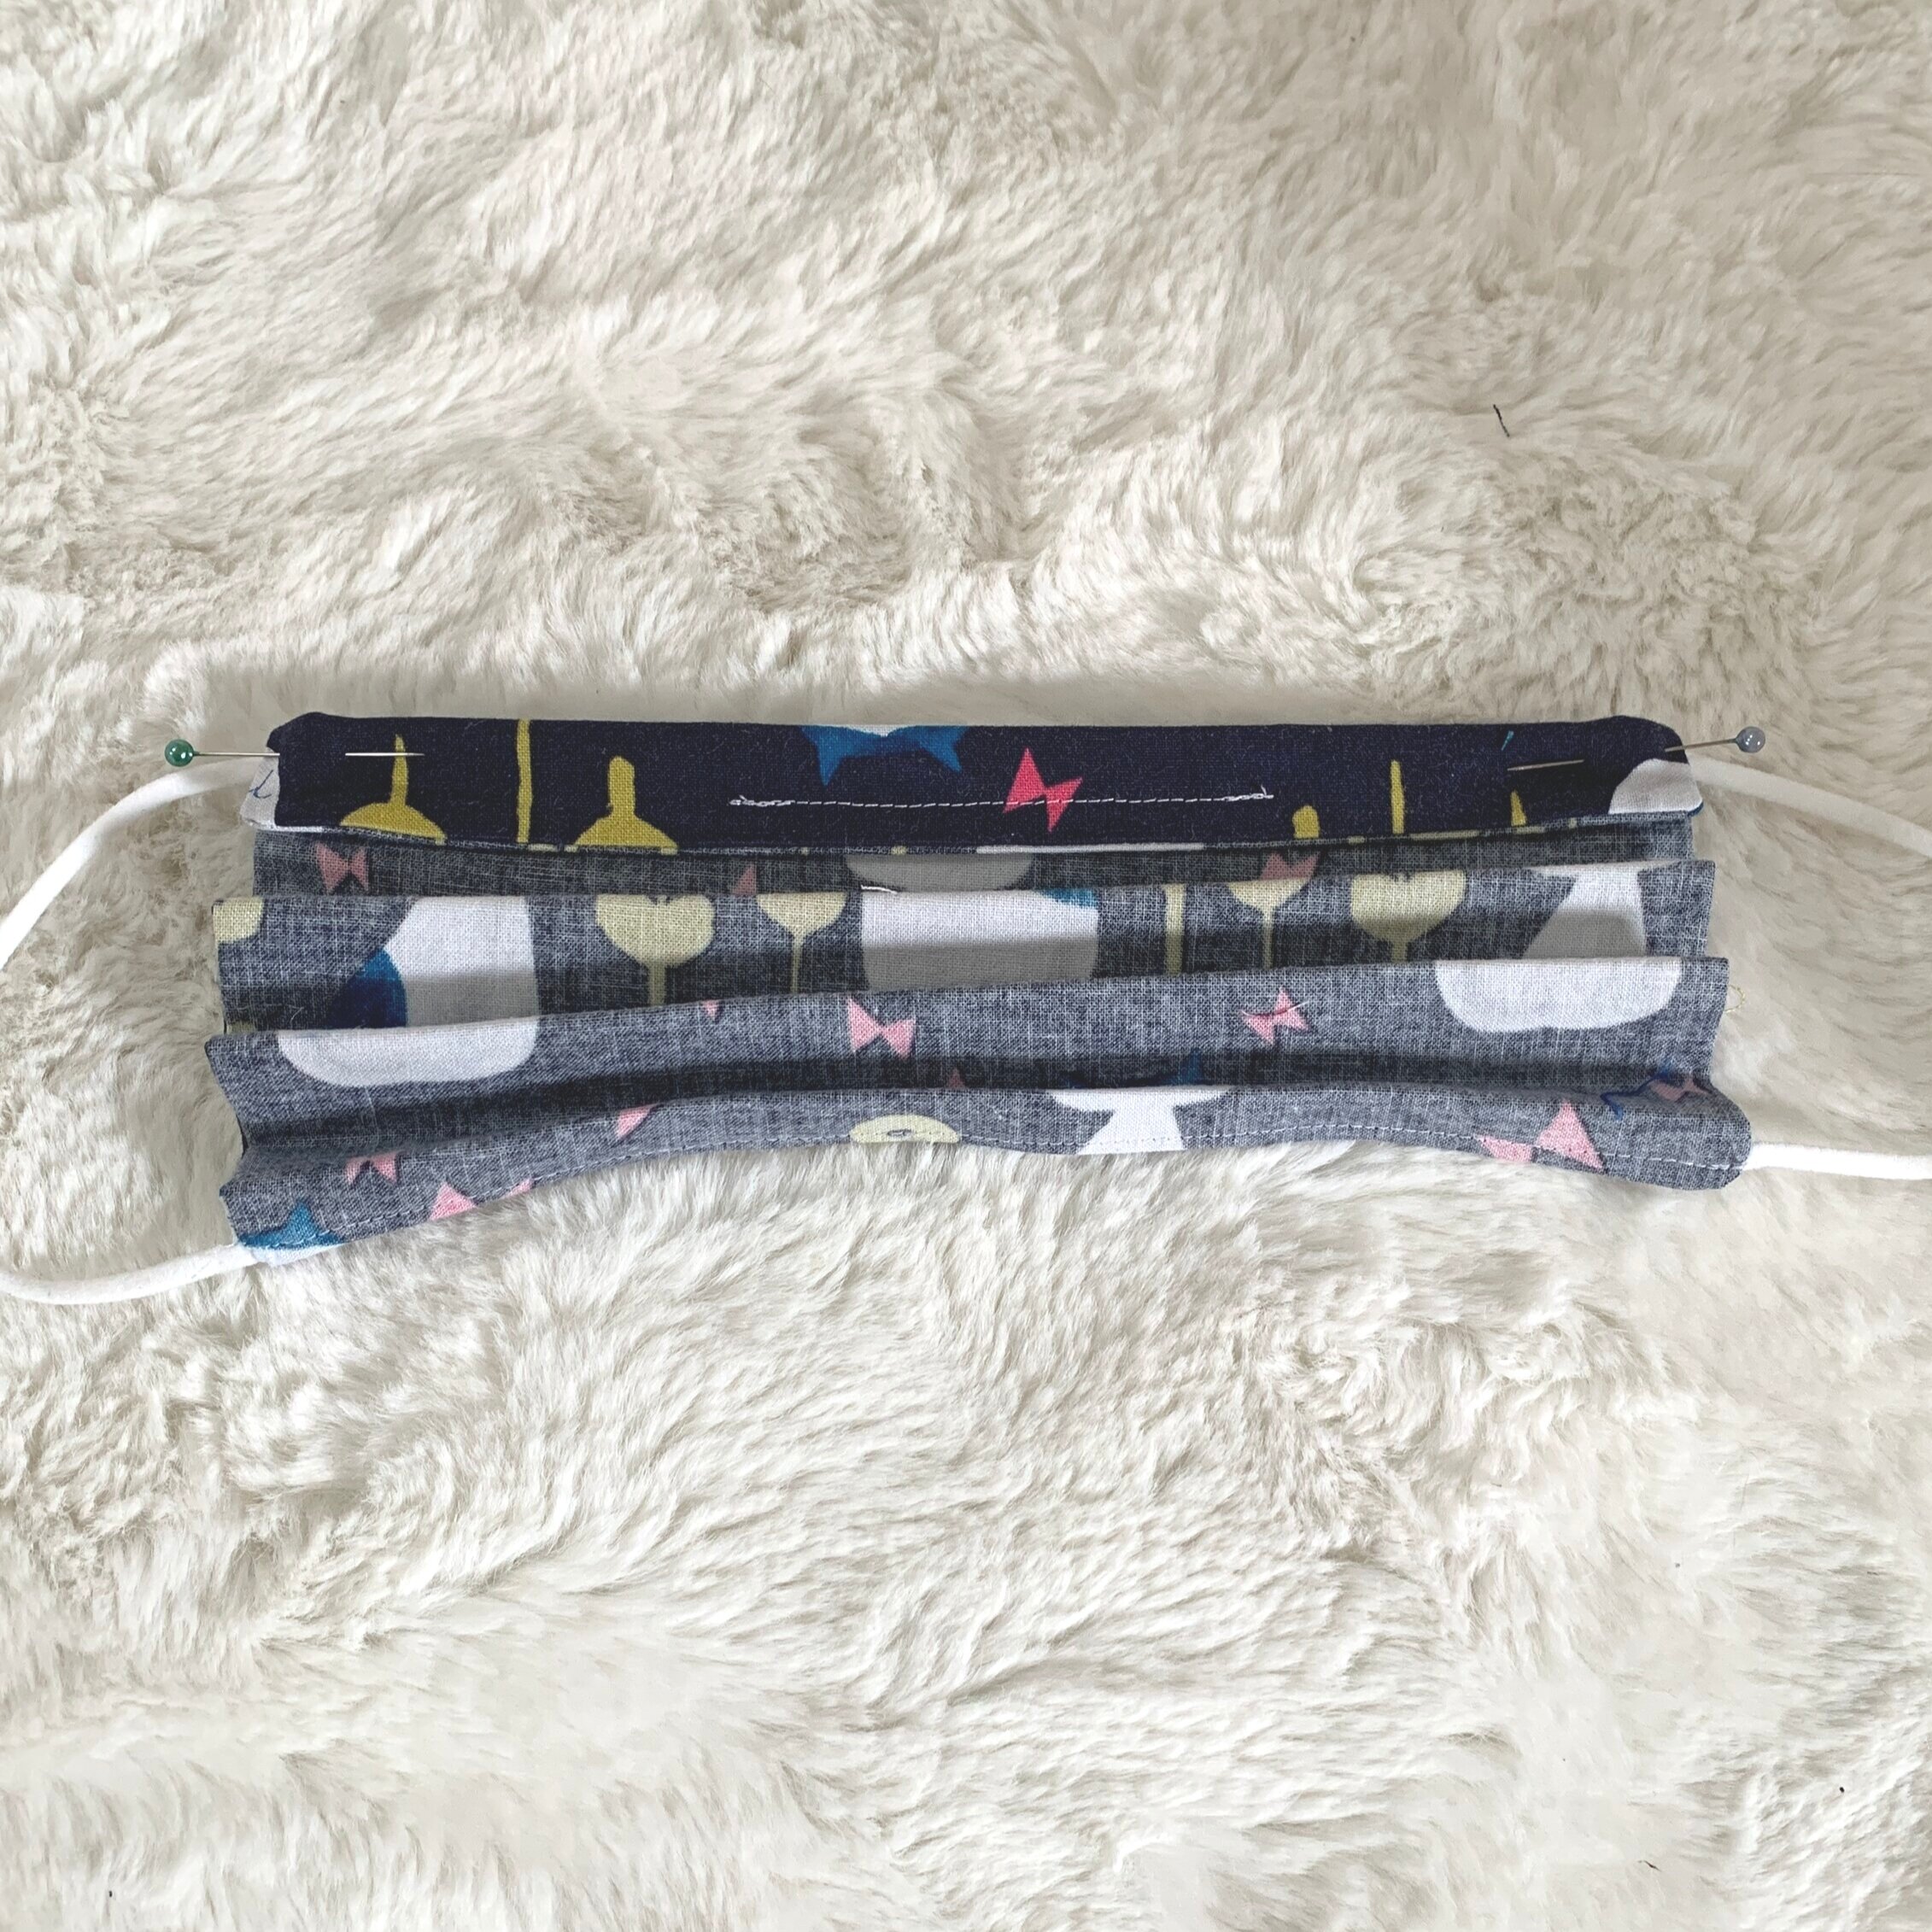
I’ve found it works really well to use painter’s tape to secure the gathered pleats in place for sewing. But if you prefer, pin the pleats.
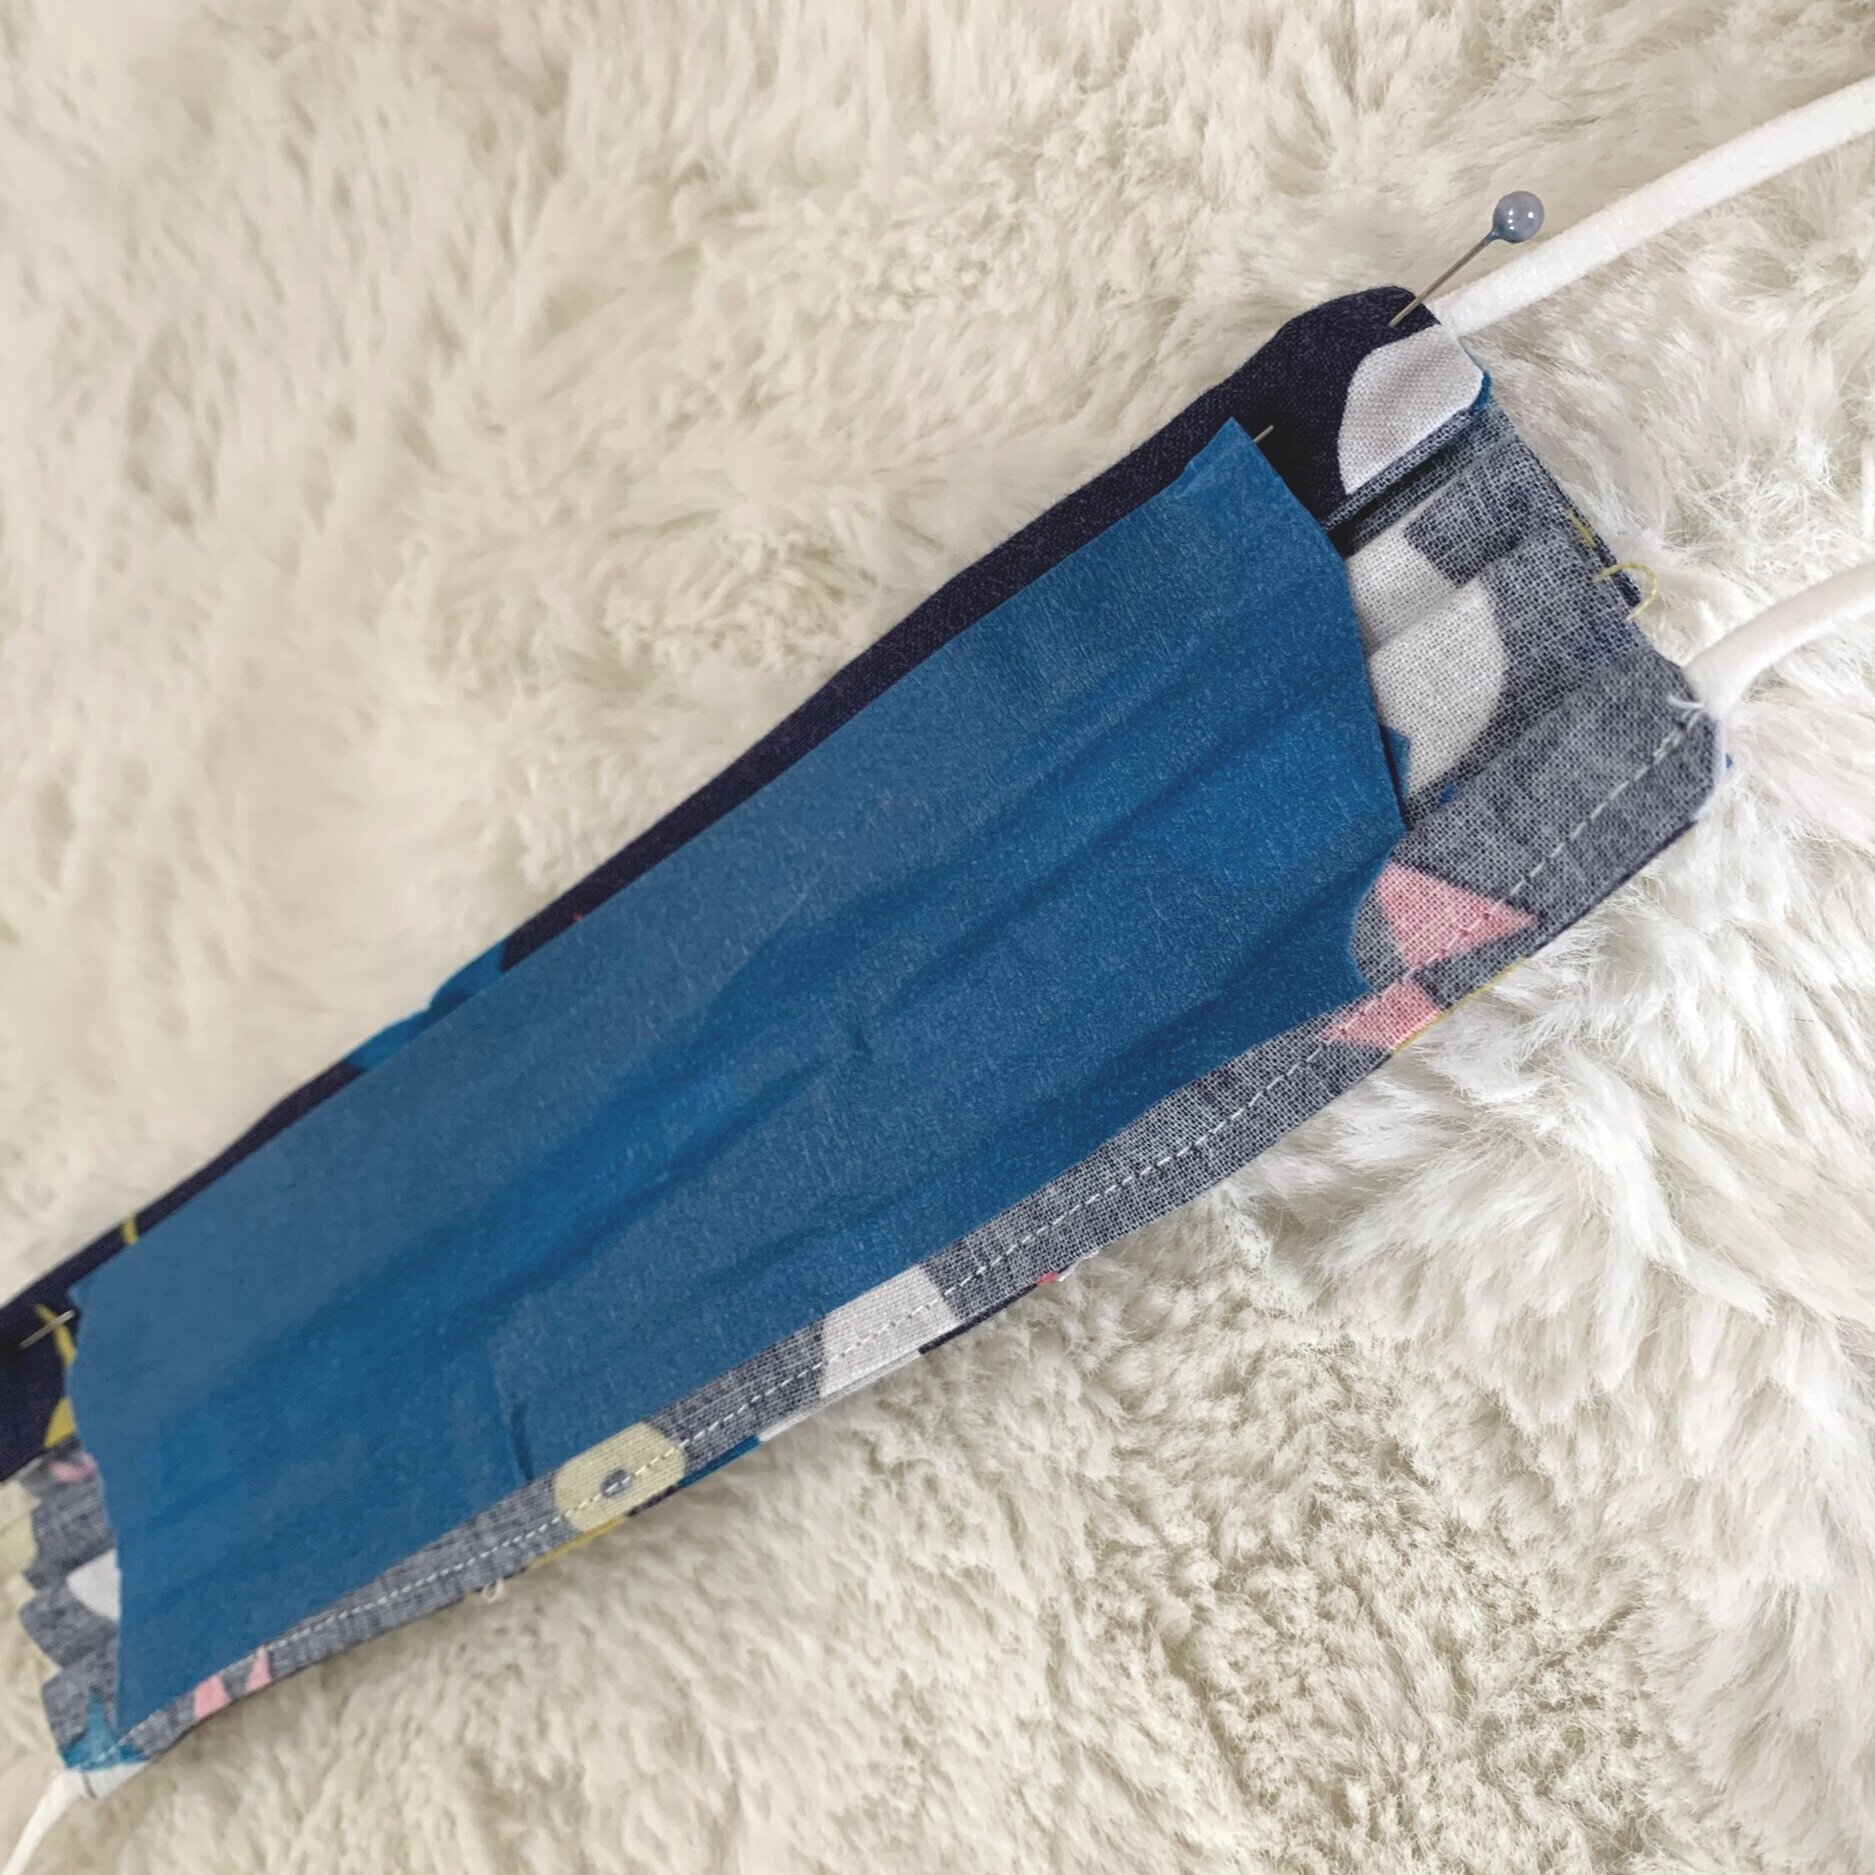
10. Sew two times each side to securely hold pleats in place.

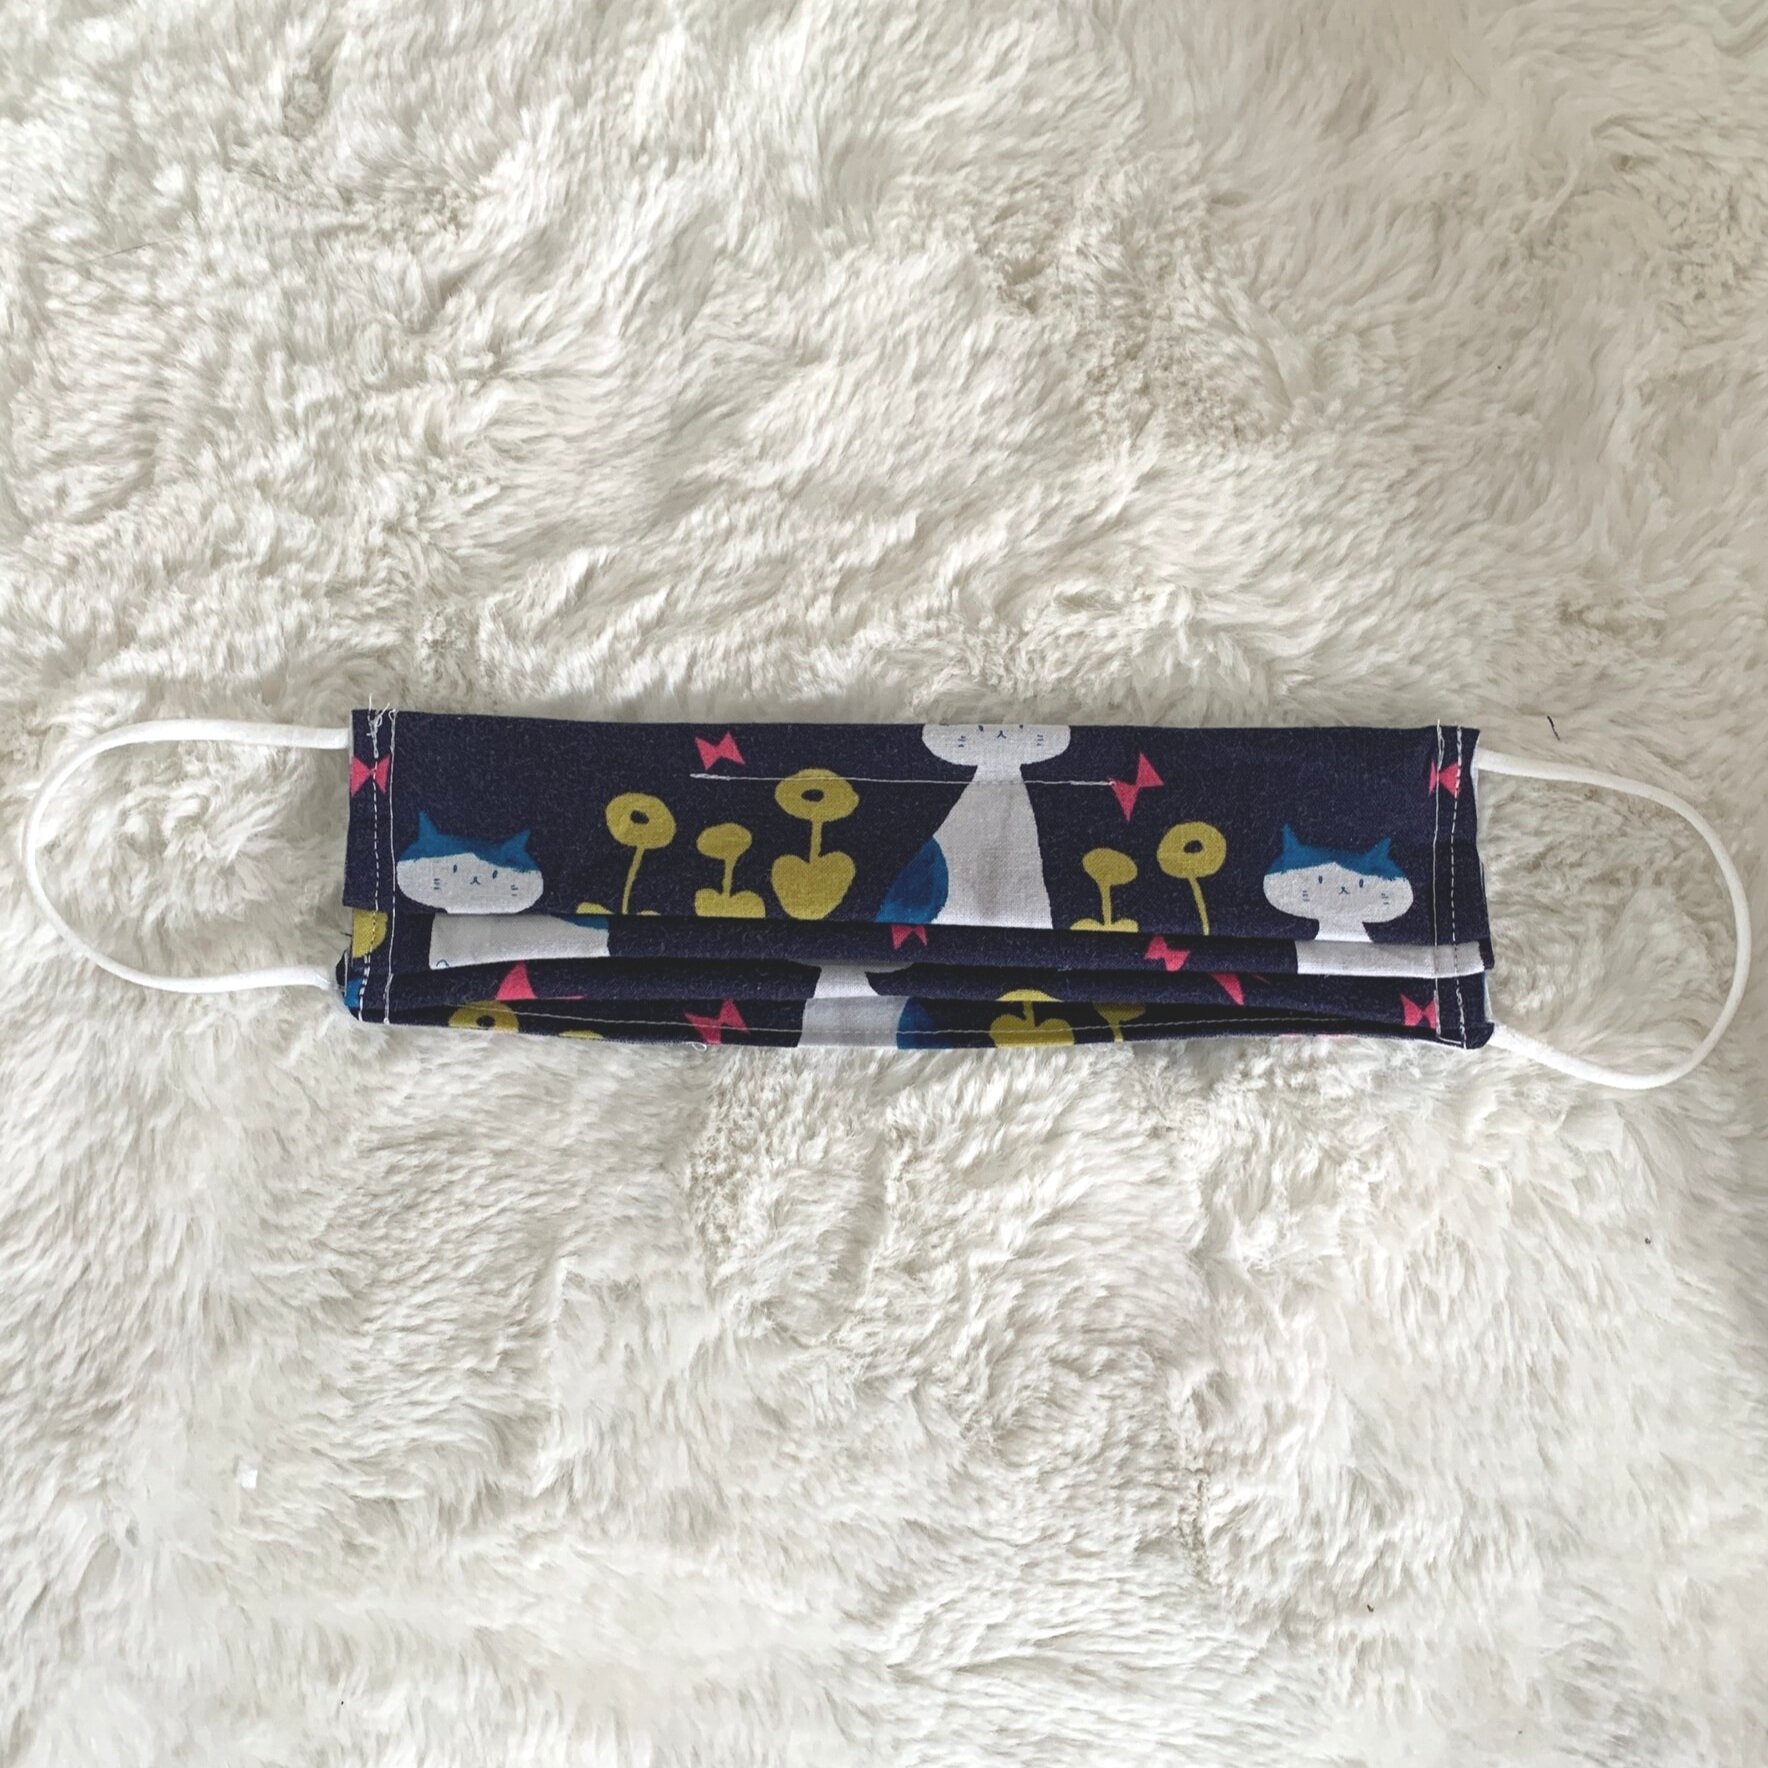
11. Slide pipe cleaner into top tunnel.
(It might make it easier to slide the pipe cleaner in if you fold the tip over so the rough edge doesn't catch when sliding in the tunnel)
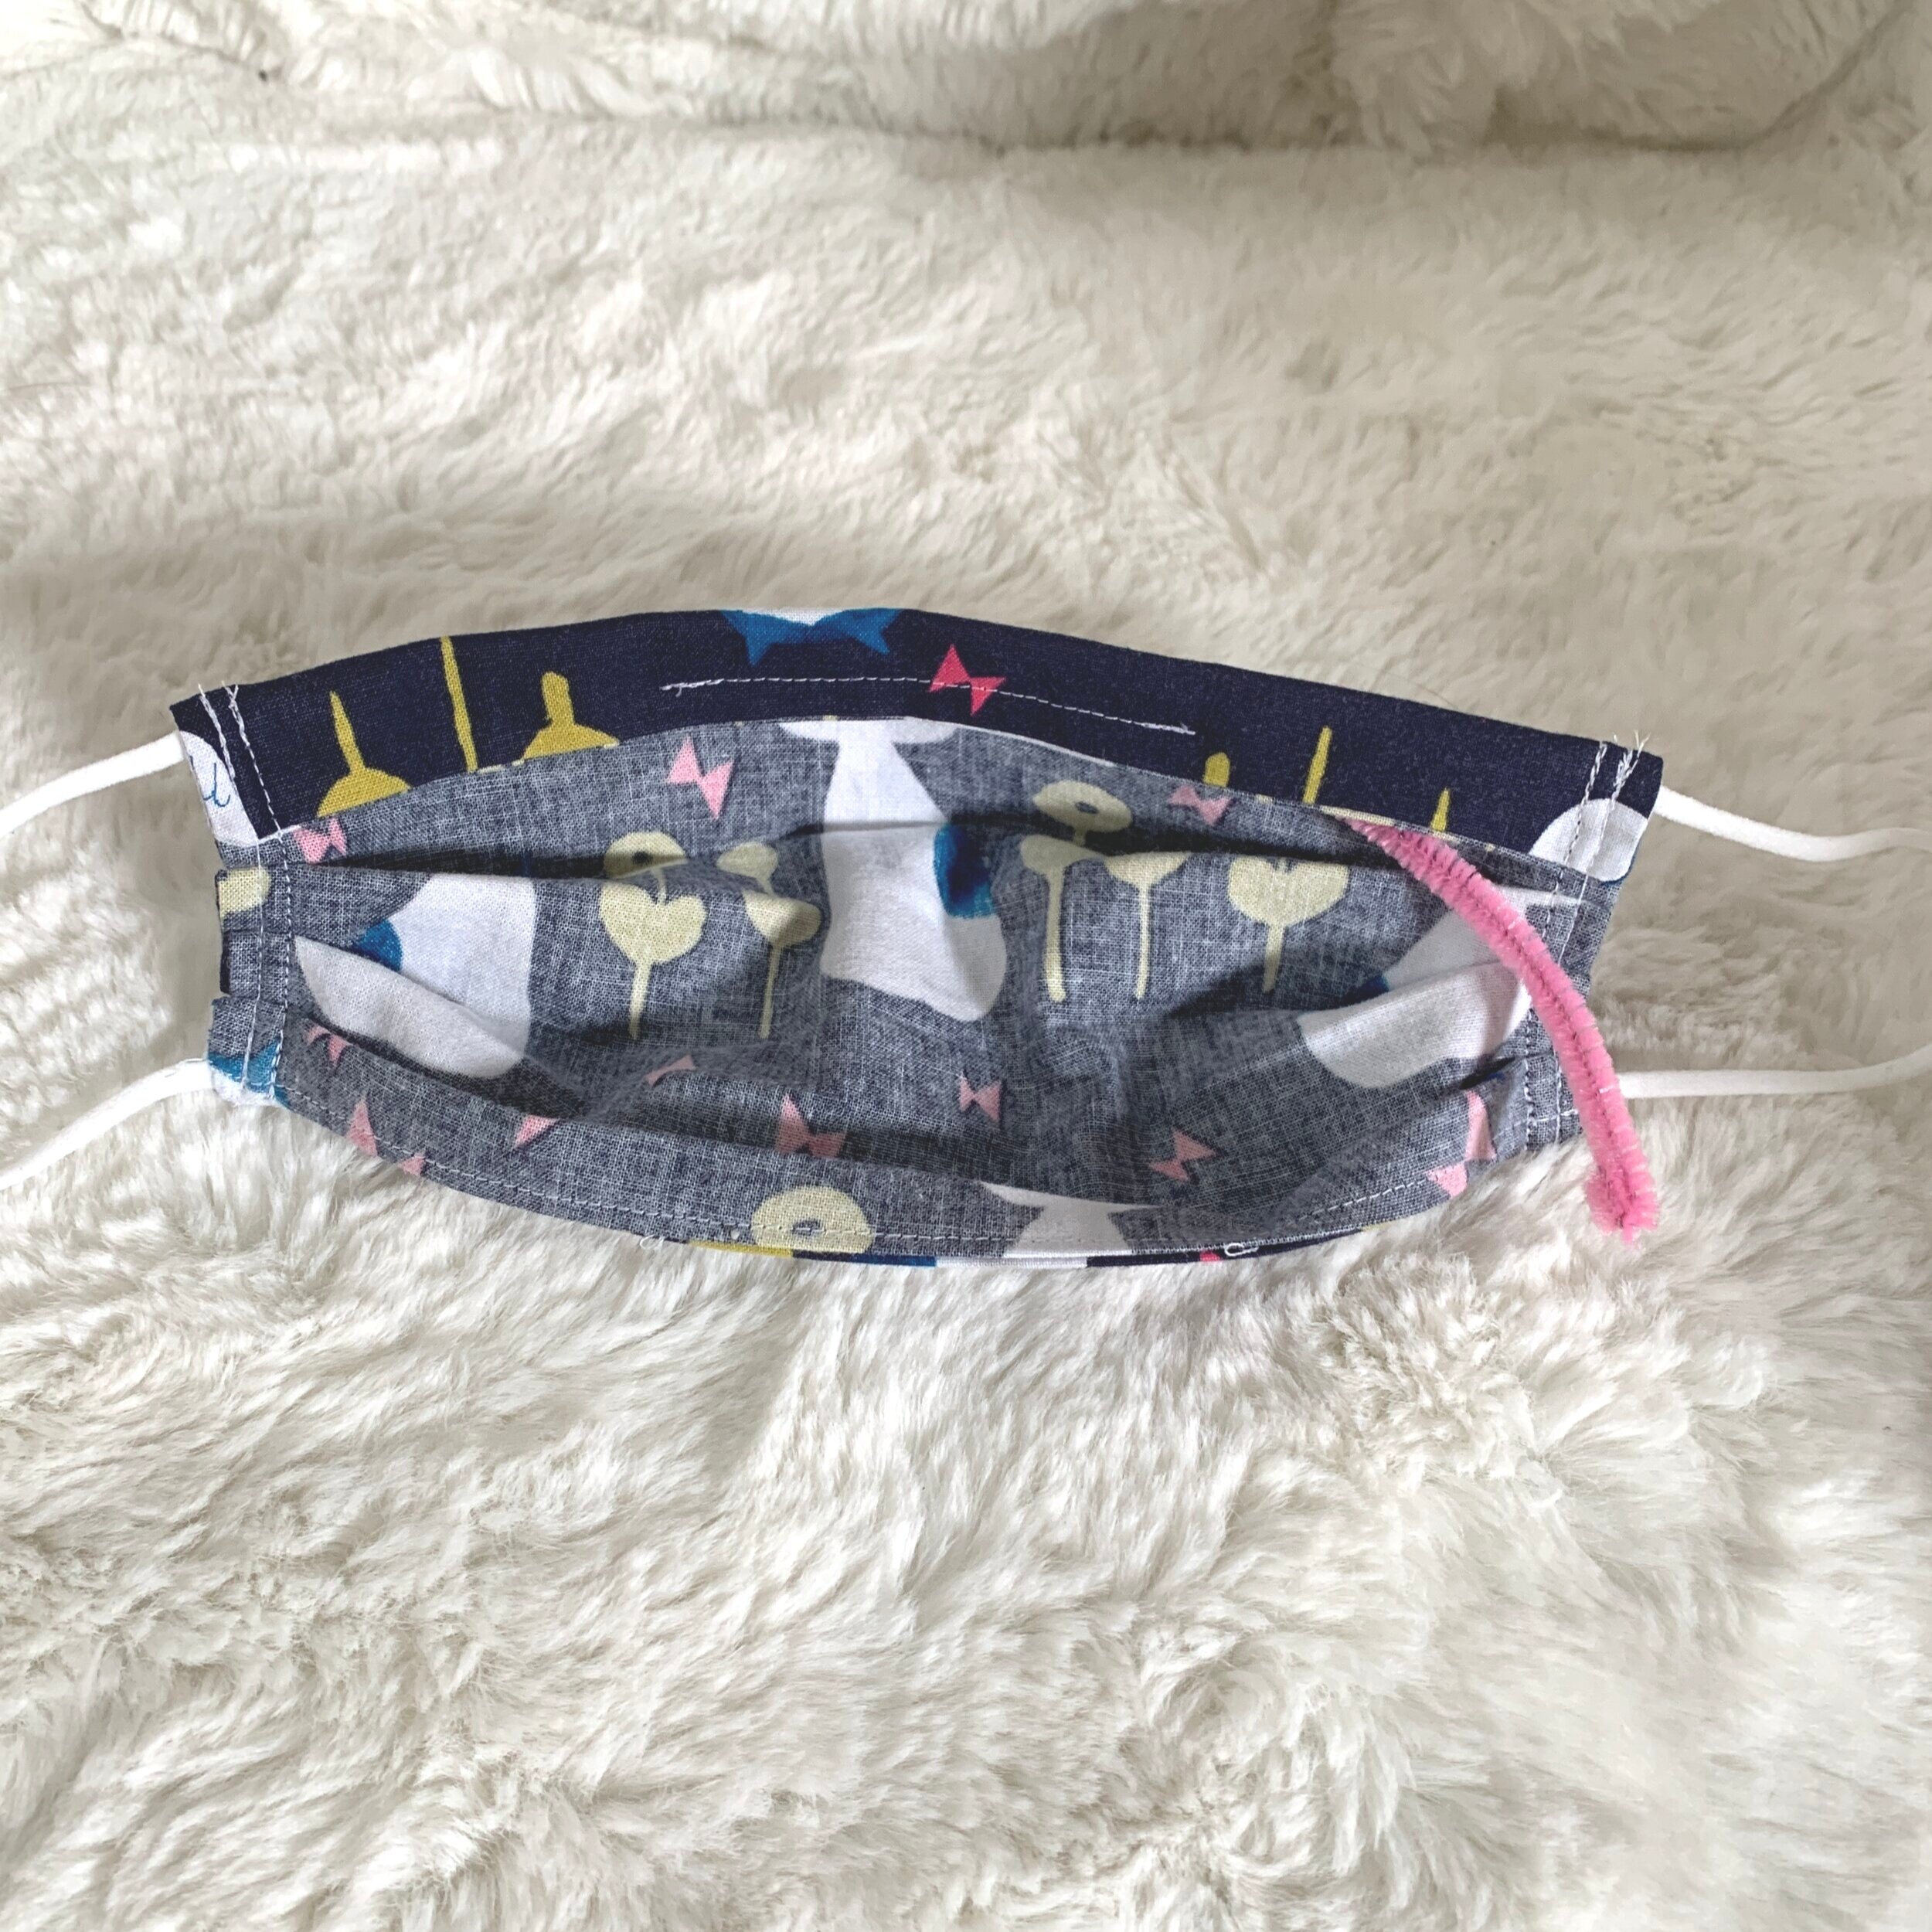
Here you can see the pipe cleaner when it is in place inside the tunnel. It’s easy to slide in before wearing, and then slide out before washing.
